All posts by Jordan Charbonneau

Build Soil with Green Manures

Whether you’re growing fresh herbs, an enormous self sufficiency garden, or cut flowers for bouquets, good healthy soil is the base of production. While we can sometimes buy in fertility and organic matter and add it to our beds, this is time-consuming and expensive. Green manures help us produce nutrients and organic matter on the property.

What is Green Manure?

Despite the name, there’s no actual manure or animal poop in green manure. Instead, green manure comprises fast-growing plants. Often growers will choose a mix of annual crops for green manure.

It’s not uncommon to see the phrases cover crop and green manure used interchangeably. Any crop grown to cover the soil, rather than harvest, is called a cover crop. A green manure is a type of cover crop that’s incorporated into the soil while the crop is still green and often just beginning to flower.

Some cover crops are left on the field to reach full maturity. While these have plenty of benefits, they don’t add as much nitrogen to the soil. Green manures, particularly nitrogen-fixing legumes, add nitrogen to the soil that future crops can use.

Hairy vetch adds approximately 110 pounds per acre of nitrogen when grown and incorporated as a green manure.

The benefits of green manures don’t end with nitrogen. Here are some other great reasons to grow them:

Why Should I Plant Green Manures?

  • Suppresses persistent weeds.

  • Improves soil microbial activity and provides habitat for beneficial insects.

  • Conserves soil and water by insulating the soil and reducing erosion.

  • Adds organic matter and improves soil structure.

  • Help bust hard pans and bring minerals to the surface.

  • Improves soil aeration and water retention, allowing crops to grow stronger root systems.

  • Can help break disease cycles in the soil.

How and When Do I Plant Green Manures in My Garden?

In some areas, you can seed green manures year round. Sometimes growers plant green manures in the fall and winter to give the beds a rest and protect the soil while they’re not in use. Other times, growers will sow green manure as part of their rotation in the summer or to give a bed a quick boost before planting a fall crop.

Most green manures will need about 8 weeks to grow (maybe longer in the winter) and 6 weeks to decompose before a bed is ready to replant.

Planting green manure crops is simple! Usually, your green manure crop should come with a specific set of sowing instructions, but there are some basic guidelines that will work for most.

You need to start with bare soil. Then you can broadcast your crop. Rake the seeds into the soil a bit, to keep them moist and help protect them from birds.

If you’re planting in fall and winter, it may rain enough for your seeds to germinate in thrive. In the summer months, you will probably need to set up irrigation or drag out the sprinkler.

In the deep summer in the Southeast, germinating any crop can be a major challenge. Starting cool season green manures in late summer and early fall can be especially tricky.

Laying cardboard over a bed before planting can help hold in moisture and shade the soil until you’re ready to plant. You can also use shade cloth over your green manure if you’re having germination issues.

Sunn Hemp (green manure crop)
Sunn Hemp

Our Favorite Green Manure Crops

The green manure crop you choose for your garden will depend on your soil and needs. You will also need to choose a crop that’s suitable for the season. You can think about green manure crops as being warm season or cool season.

Any nitrogen-fixing crop is marked with a *.

Warm Season Green Manure Crops

These crops are great for planting in spring or summer to help build soil in empty beds throughout the season.

Buckwheat and Sunn Hemp are quick-growing options.

Cold Season Green Manure Crops

These green manures are suitable for fall or winter planting. They can help add fertility and protect the soil over the winter.

Daikon radishes are a top choice for breaking up compacted soil. Typically, we recommend white clover for beds that you plant to keep in cover crop for at least a year, as part of a larger rotation. It’s also a good choice for pathways.

How to Incorporate Green Manure Crops into the Soil

After 8 weeks or more, your green manure crop should have put on good growth and ideally be almost ready to flower or just starting to flower. At this stage, your green manure should be full of nutrients that you can return to the soil.

Don’t let your green manure crop mature and go to seed. The seeds can take up to 90% of the plant’s nitrogen.

The nitrogen is used to make the protein in seeds. When the nitrogen is used to make seeds, it becomes unavailable for your next crop.

The most common way to deal with green manure crops is rototill the crop into the bed whether with a tractor or small rototiller. Depending on the crop, you’ll probably need to mow it first, either with a tractor or push mower. For tiny beds, mow or cut your crop, then dig it into the soil with a shovel or garden fork.

Of course, many growers are going to no-till practices. If you don’t want to till in your green manure, you can simply mow it and leave it to break down on the surface of the soil. It will double as mulch, and you can transplant directly into it.

If you’re in a hurry to plant, covering your mulched material with tarps or plastic can help speed up the decomposition process. It holds the moisture into the plant material and soil and earth worms and other insects will move about beneath the tarp, helping to break down the green manure.

Season Extension: Tips, Guides, & Resources

This fall has been an unusual season in an already unusual year for many gardeners across the southeast. We were fortunate enough to be outside the path of hurricane Helene, but other seed growers and farmers were not so lucky. Aside from that major catastrophe, average annual temperatures have increased across the region and there’s been significant drought, storms, or flooding in certain areas. Many growers are now hoping season extension can provide some relief during this season and allow for production during the fall, winter, or early spring.

Season Extension Guides & Resources

Season extension can be a great way to overwinter biennial seed crops, produce more crops for market, or just grow a bit more food for your family. Here are a few of our favorite resources to help you make it happen:

University of Maryland Extension High Tunnel Best Management Practices by Neith Little

UMD has put together some great basic information for managing a greenhouse or hoop houses of any size. Learn more about pest management, soil care, crop selection, temperature management and more.

Read High Tunnel Best Management Practices here.

Caterpillar Tunnel: An Inexpensive Variation on the Hoophouse Theme by Growing for Market.

A quick guide to setting up an inexpensive caterpillar tunnel, which is a great option where purchasing a hoop house isn’t possible.

Read the Caterpillar Tunnel guide here.

Fine Gardening Easy-to-Build Cold Frame by Rob Wotzak

Working with a small space? This article offers comprehensive, easy to follow instructions to build your own cold frame. “This plan doesn’t require a lot of tools, a contractor’s license, or 500 trips to the hardware store.”

Read Easy-to-Build Cold Frame here.

How to Grow Winter Hoop House Crops – Mother Earth News Magazine Article by Pam Dawling

Our neighbor over at Twin Oaks Community, Pam Dawling, wrote this helpful guide. She was their garden manager for several years, is the author of Sustainable Market Farming, and runs a blog under the same name (Sustainable Market Farming) full of helpful, well-researched articles.

Read How to Grow Winter Hoop House Crops here.

Year-Round Hoophouse, The: Polytunnels for All Seasons and All Climates by Pam Dawling

Dive deeper with Pam Dawling’s book on hoop houses. This is a thorough, clear and easy-to-follow guide for designing and building a hoophouse and making a success of growing abundant, delicious fresh produce all year round, in any climate, for market or just your family.

Purchase Year-Round Hoophouse here.

Michigan State University Extension Common Diseases in Organic Hoophouse Greens by Colin Thompson

Plant diseases can occur throughout the year, not just in summer. Sensitive greens can be especially challenging and prone to fungal diseases in low-airflow winter hoop houses. This article offers helpful tips for mitigating that risk.

Read Common Diseases in Organic Hoophouse Greens here.

Four Season Harvest by Eliot Coleman

Eliot Coleman’s Four Season Harvest is renowned in the Northeast. This helpful guide has information needed to grow year-round even through the cold winters he experiences in Maine. This is a great guide for those growers in mountainous areas that deal with severe winters.

Purchase Four Season Harvest here.

SESE Blog 10 Season Extension Techniques by Jordan Charbonneau

New to season extension? Try one of these simple techniques to keep growing through all conditions from the SESE blog.

Read 10 Season Extension Techniques here.

University of Kentucky Extension Season Extension Tools & Techniques

Get the basics on season extension from floating row cover to high tunnels plus tips on economic considerations, irrigation, cultivar selection and more.

Read Season Extension Tools & Techniques here.

NCAT ATTRA Crop Selection and Planting Schedules for Winter High Tunnel Production by Chris Lent

Find crops and a planting schedule that works for your area with this helpful guide from NCAT. It also includes links to other resources on hoophouse production.

Read Crop Selection and Planting Schedules for Winter High Tunnel Production here.

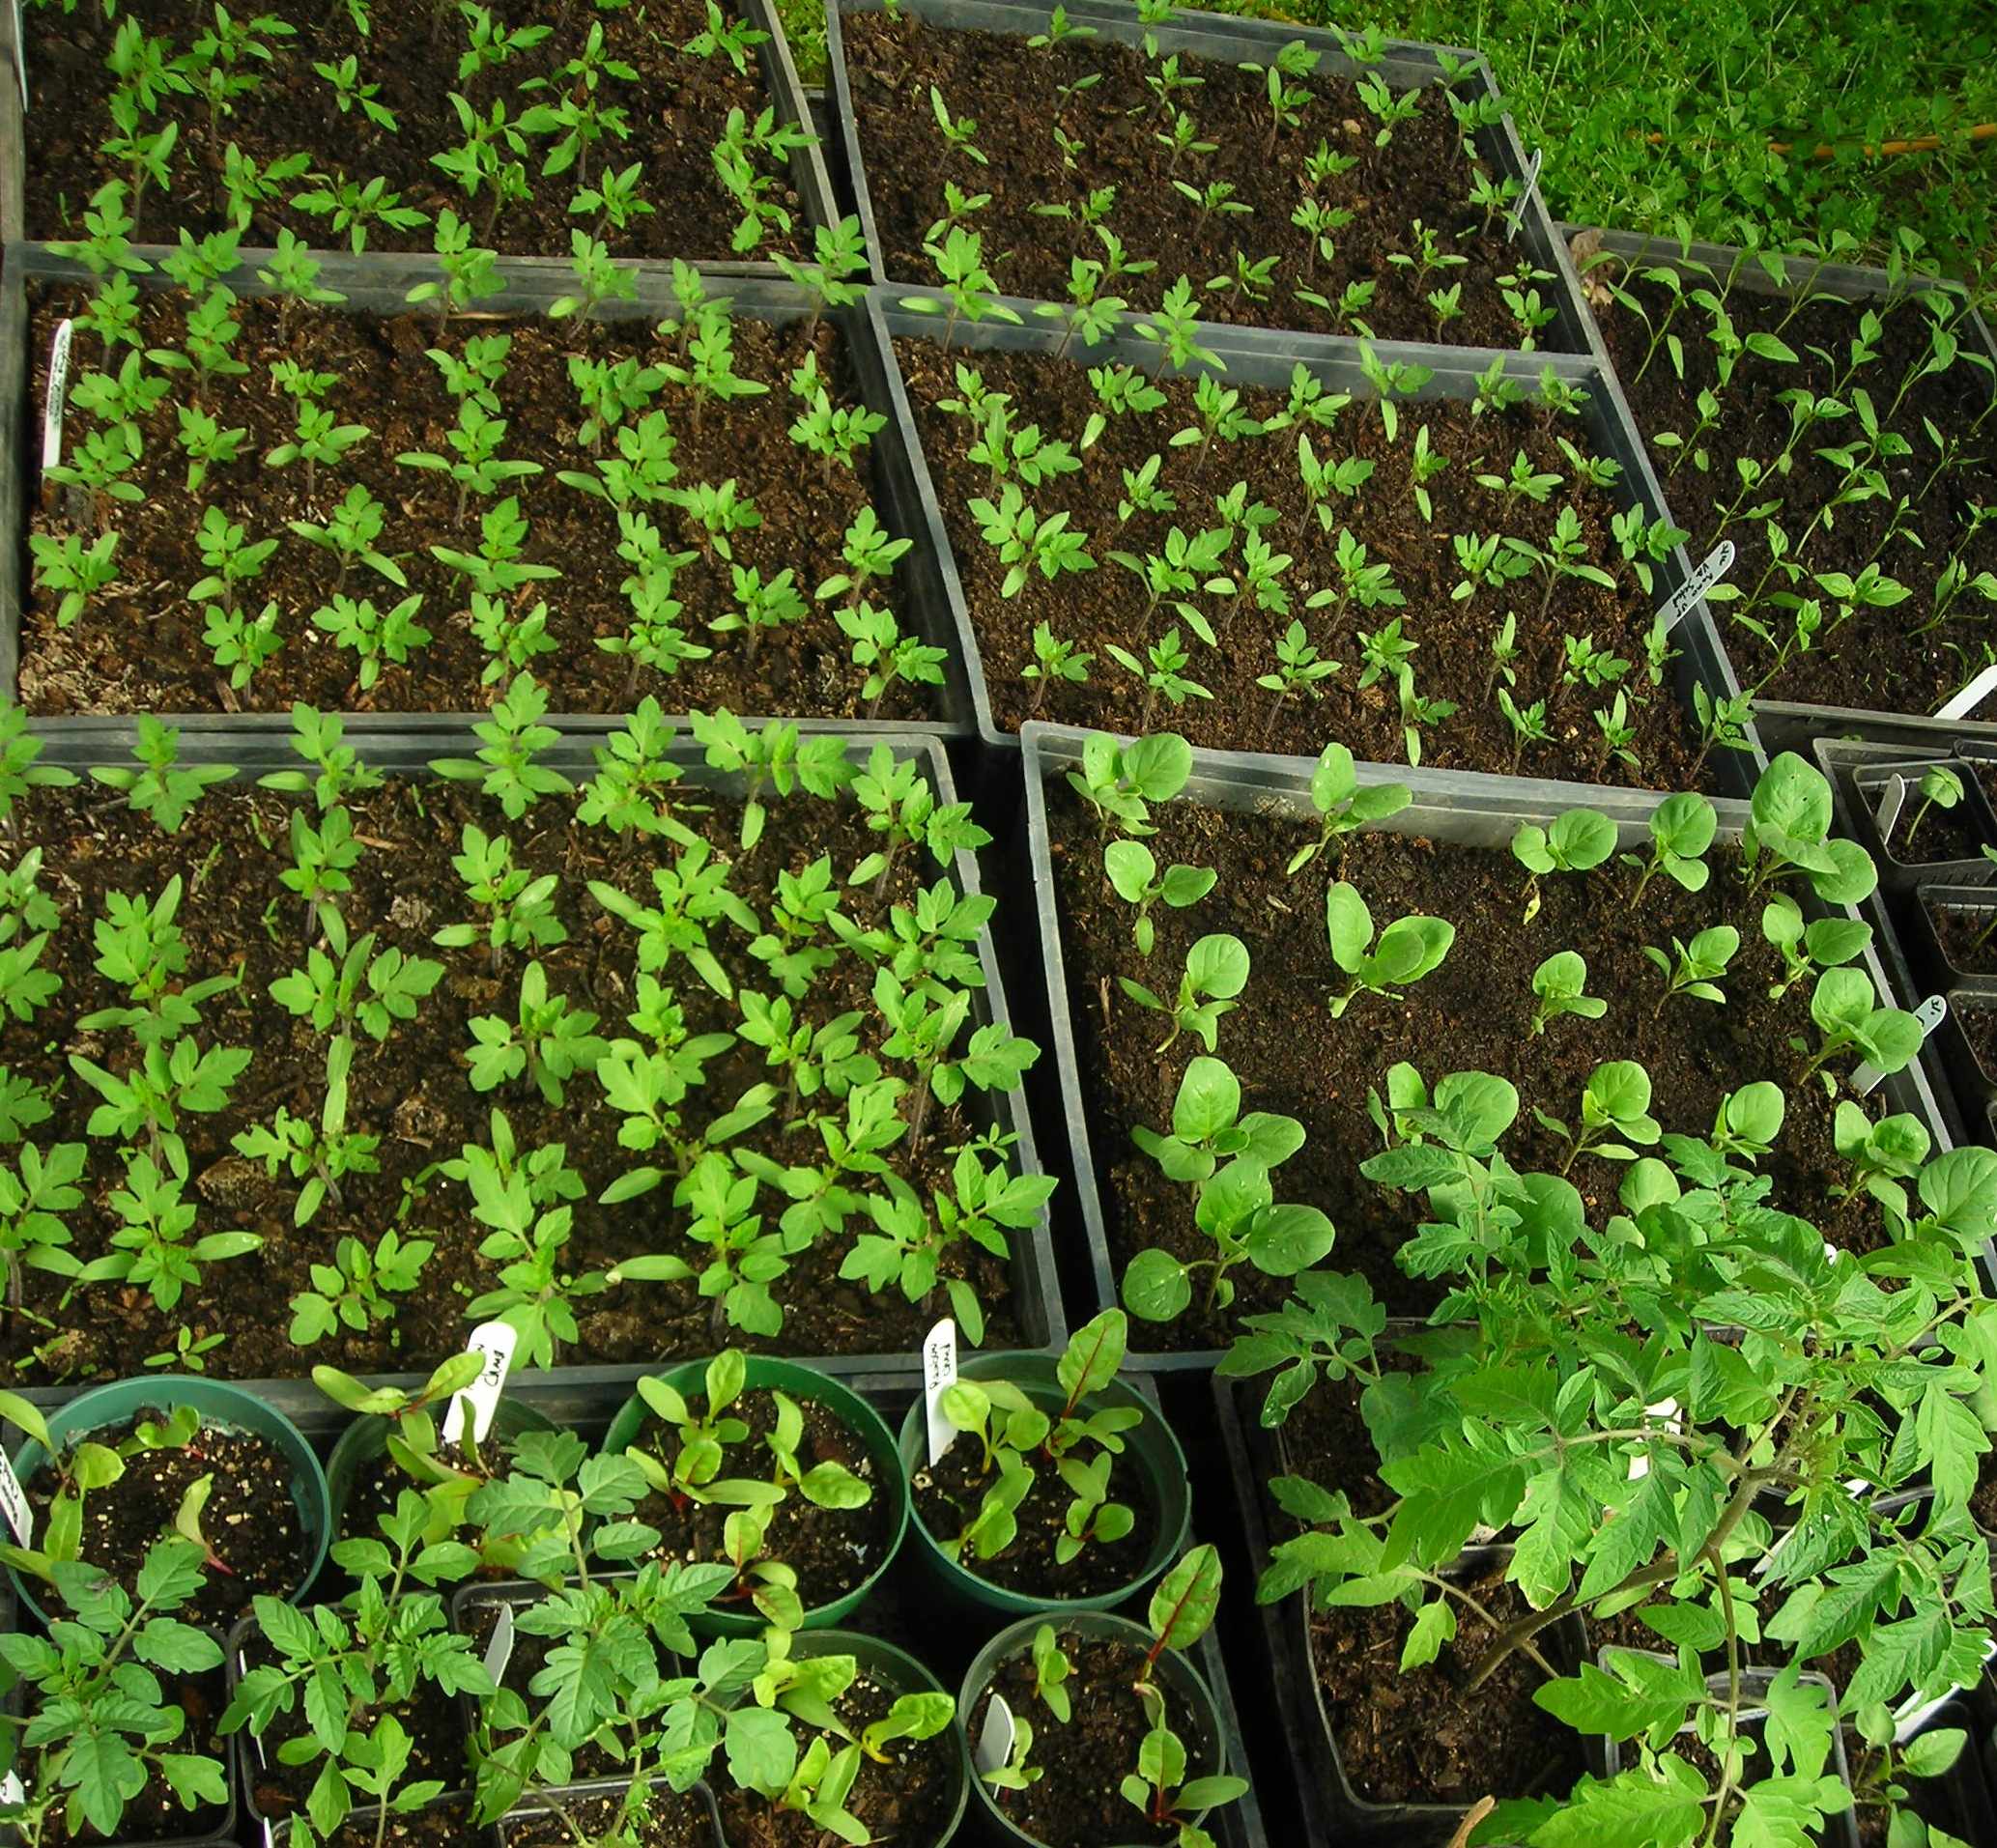
Top down new of colorful seedlings in trays
Photo by Zoe Schaeffer (zoeschaeffer.com and instagram.com/dirtjoy)

Beginner Tips for Using Season Extension

  • Be sure to account for dwindling daylight in your days to harvest, not just cold temperatures.

  • Watch for signs of fungal diseases and remove affected material immediately.

  • Select varieties and crops bred for cold hardiness and disease resistance.

  • Vent your season extension whenever it’s warm enough to do so.

  • Double up on temperature protection by using frost cover or low tunnels within a hoop house.

  • Use your season extension to help harden off seedlings in the spring.

Guide to Overwinter Herbs

Many of our favorite aromatic herbs are perennials that are perfect candidates for overwintering in gardens of the Southeast. Herbs like lavender, sage, thyme, and mint all add incredible flavor to meals and beverages or value to your farmer’s market offerings. While some herbs are cold hardy, others need more help if we want to grow them year round. Learn more about how you can overwinter herbs.

What Herbs Can I Overwinter?

There are many excellent herbs you can overwinter in the Southeast, though some need more care than others. Here’s a list of all the herbs you can overwinter, divided into categories based on their cold tolerances. Keep in mind, conditions like soil moisture, wind exposure, and snow cover can affect a plant’s cold tolerance.

You’ll find hardiness USDA hardiness zones listed next to each herb, but further on, we’ll discuss ways to push those limits.

Extremely Cold Hardy Perennial Herbs 

  • Peppermint (Zones 3-11)
  • Lemon Balm (Zones 3-9)
  • Horehound (3-9)
  • Chives (Zones 3-9)
  • Horseradish (Zones 2-9)
  • Leverage (Zones 3-9)
  • Sorrel (Zones 3-9)

You can also grow some of these cold hardy herbs farther south if you maintain consistent watering and offer them shade from the afternoon sun in the summer months.

Moderately Cold Hardy Perennial Herbs

  • Tarragon (Zones 4-9) 
  • Wild Bergamot (Zones 4-8)
  • Winter Savory (Zones 4-8)
  • Lavender (Zones 5-9, depending on cultivar)
  • Thyme (Zones 5-9)
  • Sage (Zones 4-10)
  • Oregano (Zones 5-10)
  • Fennel (Zones 4-9)

Delicate Perennial Herbs

  • Rosemary (Zones 8-11) 
  • Ginger (Zones 9-12)
  • Turmeric (Zones 8-11)
  • Lemon Verbena (Zones 8-11)
  • Basil (zones 10-11)

Yellow Turmeric Rhizomes with plant stems sitting on a stumpSoil Conditions to Overwinter Herbs

Soil conditions can have a surprising effect on whether our herbs make it through the winter. Generally, herbs thrive in loose, well-drained, fertile soil with a pH between 6.0 and 7.5. Many of our favorite herbs, like sage, fennel, rosemary, and lavender, are native to the Mediterranean and other regions with warm sunny days and loose, well-draining soil. 

Heavy clay soils abundant in much of the Southeast can be problematic for these perennials. Avoiding low, wet spots and amending your soil with plenty of compost, peat moss, or aged manure can improve your soil’s drainage and pH to give your herbs a better chance. Raised beds are also a good option for areas with poor drainage.

Mulch

No matter which herbs you choose, from cold hardy to delicate, mulch is one of the best ways to improve their chances of surviving the winter. Mulch acts as insulation over the soil. In the fall, it can help keep soil temperatures warmer long. As it helps to moderate soil temperatures, it reduces the effects of freeze and thaw cycles, preventing soil from heaving.

However, it’s important to know that mulch can also hold in excessive moisture. If you have wet periods but not extreme cold temperatures, go lighter on the mulch. As discussed above, soil quality and drainage are critical for the survival of many herbs, like lavender. 

Use Row Cover to Overwinter Herbs

One of the easiest ways to offer any plants some extra winter protection is to set up floating row cover. Using wire or other hoops, suspend frost cloth or plastic above the tops of the plants, venting or removing on warm days. This method is not only affordable, but one of the best because you can add or remove it as needed throughout the season. 

Overwinter Herbs in Greenhouses & Hoop Houses

If you’re among the gardeners lucky enough to have the space and resources for a greenhouse or hoop house, dedicating a spot for perennial herbs may help you overwinter cultivars that would not typically survive in your zone.

In cold climates or mountainous areas, combine your hoop house or greenhouse with low tunnels or frost blankets to give your herbs some extra protection on wintry nights. 

Rosemary plant in a raised bed with wooden labelDisease Issues

Fungal diseases like powdery mildew, downy mildew, and root or crown rot are the primary diseases issues we see herbs succumbing to over the winter. Prevention is key with these diseases. Whether you amend your soil, or create raised beds, good drainage is essential. 

Airflow is also important when you overwinter herbs. Space herbs appropriately, and divide them as needed. When you’re growing in hoop houses or low tunnels, it’s important to vent them whenever it’s warm enough. 

For some herbs, you may also find some mildew-resistant cultivars.

If you see signs of a fungal disease, remove affected foliage immediately. Improve circulation if possible, using vents and fans in hoop houses. You may treat your plants with a homemade or commercial fungicide, like baking soda or commercial fungicides. Keep in mind that commercial fungicide, like copper, can build up in the soil and become detrimental. 

Spring Care for Overwintered Herbs

If you live in a cold climate, and mulched your herbs in heavily, pull some of the mulch back in the spring to allow more airflow. Many herbs are susceptible to high moisture, rot, and fungal issues.

No matter how well you care for your herbs, you will probably see some die back. In the spring, you can trim any dead tips or branches to make room for fresh growth.

Topdressing your beds with finished compost can give your plants a boost as they begin to grow. The compost will add fertility and improve soil structure.