As the weather gets colder, winter squash and pumpkins take the spotlight in the garden and kitchen. If you’re serving up some pumpkin spice waffles, baking pies, or roasting butternuts this season, it’s a good time to think about what winter squash you want to grow next season. While we love the classics, there’s more out there than the butternuts and acorns you see on everyone’s Thanksgiving shopping list. Consider some of these unique winter squash and pumpkins as you plan for next year.
What’s the Difference?
Our winter squash, pumpkin, and summer squash varieties are all in the cucurbit family, but they fall into a few different species and even more varieties. Here’s the species you’ll find in the seed catalog.
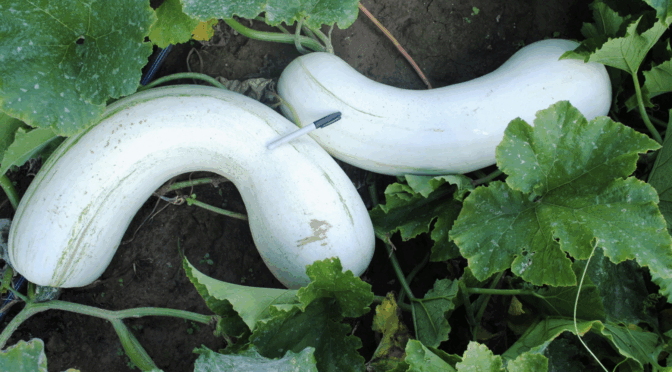
Curcurbita pepo: Most zucchini and summer squash are of this species. Winter squash varieties do not store well and are best eaten within a few months of harvest, but also need less time curing to sweeten up. Best planted in monthly successions throughout the summer because of vine borer susceptibility. If you have trouble growing these squash, try luffa gourds or Tromboncino summer squash as a substitute for zucchini.
C. maxima: Often quite large-growing, this species generally keeps well in storage, from a few months to a year or more, depending on the variety. Fine-textured flesh and very good flavor. May be tender and sensitive to wilt, as well as vine borers and other insect pests. These are a good choice where nights are cool.
C. moschata: Excellent keepers, with flavorful, sweet flesh that is often fragrant. Well-suited for pies and cakes, though they are often just baked or boiled. Good resistance to vine borers and cucumber beetles once the plants are beyond the seedling stage. During the growing season, these plants need night temperatures above 60°F to grow well.
C. mixta: (Also know as C. argyrosperma) is a traditional Southern crop, though its popularity has diminished. The somewhat coarse flesh is typically not as sweet as maximas and moschatas, though it is well-suited to savory dishes or may be sweetened. Many are grown for the large, flavorful seeds, perfect for roasting. Like moschatas, they have good resistance to vine borers and cucumber beetles. Excellent drought tolerance.
A note on pumpkins: Pumpkin is the word used to describe a pumpkin-shaped squash, but there are many colors, sizes, and types of pumpkins in the different squash species. Generally, Halloween pumpkins for carving are pepo types. The best-flavored pumpkins are maxima and moschata types. The most bug-resistant pumpkins are moschata types.
Exceptional Varieties to Try Next Season
We currently offer 28 winter squash and pumpkin varieties at Southern Exposure. Here are a few of our favorites to try.
The Prize-Winner: Big Max Pumpkin
Big Max has earned its name! These girthy pumpkins often grow up to 100 pounds under the right conditions. They’re a classic favorite for competing at the county fair or creating magnificent jack-o’-lanterns for the front porch.
But Big Max isn’t just for looks! These pumpkins feature orange flesh that’s perfect for pies and other autumn favorites.
The Long-Keeper: Seminole Pumpkin
Winter squash is known as a good storage crop, but not all of them are created equal! When it comes to storage, the Seminole pumpkin is basically unmatched. It keeps for up to 1 year at room temperature! The fruits are small, averaging just 6 inches in diameter, but have deep orange firm flesh that’s sweeter than butternut. It’s also tasty when picked young as a summer squash.
Seminole is also an excellent choice for growers in hot, humid, disease-prone areas. It has excellent downy mildew resistance and is resistant to vine borers. Just keep in mind, Seminole does best with ample water when young and plenty of room to roam.
The Hardy One: Magic Cushaw Winter Squash
Seed keepers found this magical cucurbit growing in a Georgia swamp! Rag & Frass Farm and The Little Farm have been growing and stewarding this variety for over 10 years.
“We named it Magic Cushaw because it is so good and always pulls through, resistant to most everything, and now it is the only winter squash we grow,” writes grower Julia Asherman
Magic Cushaw features an amazing mix of shapes and sizes–round and oval and cheese-type pumpkins, plus long-necked ones. The fruits are 5 to 30 pounds, mostly tan, and some green. They have bright orange flesh with a sweet flavor and tender skin. Magic cushaw stores well.
Magic Cushaw Winter Squash Seeds
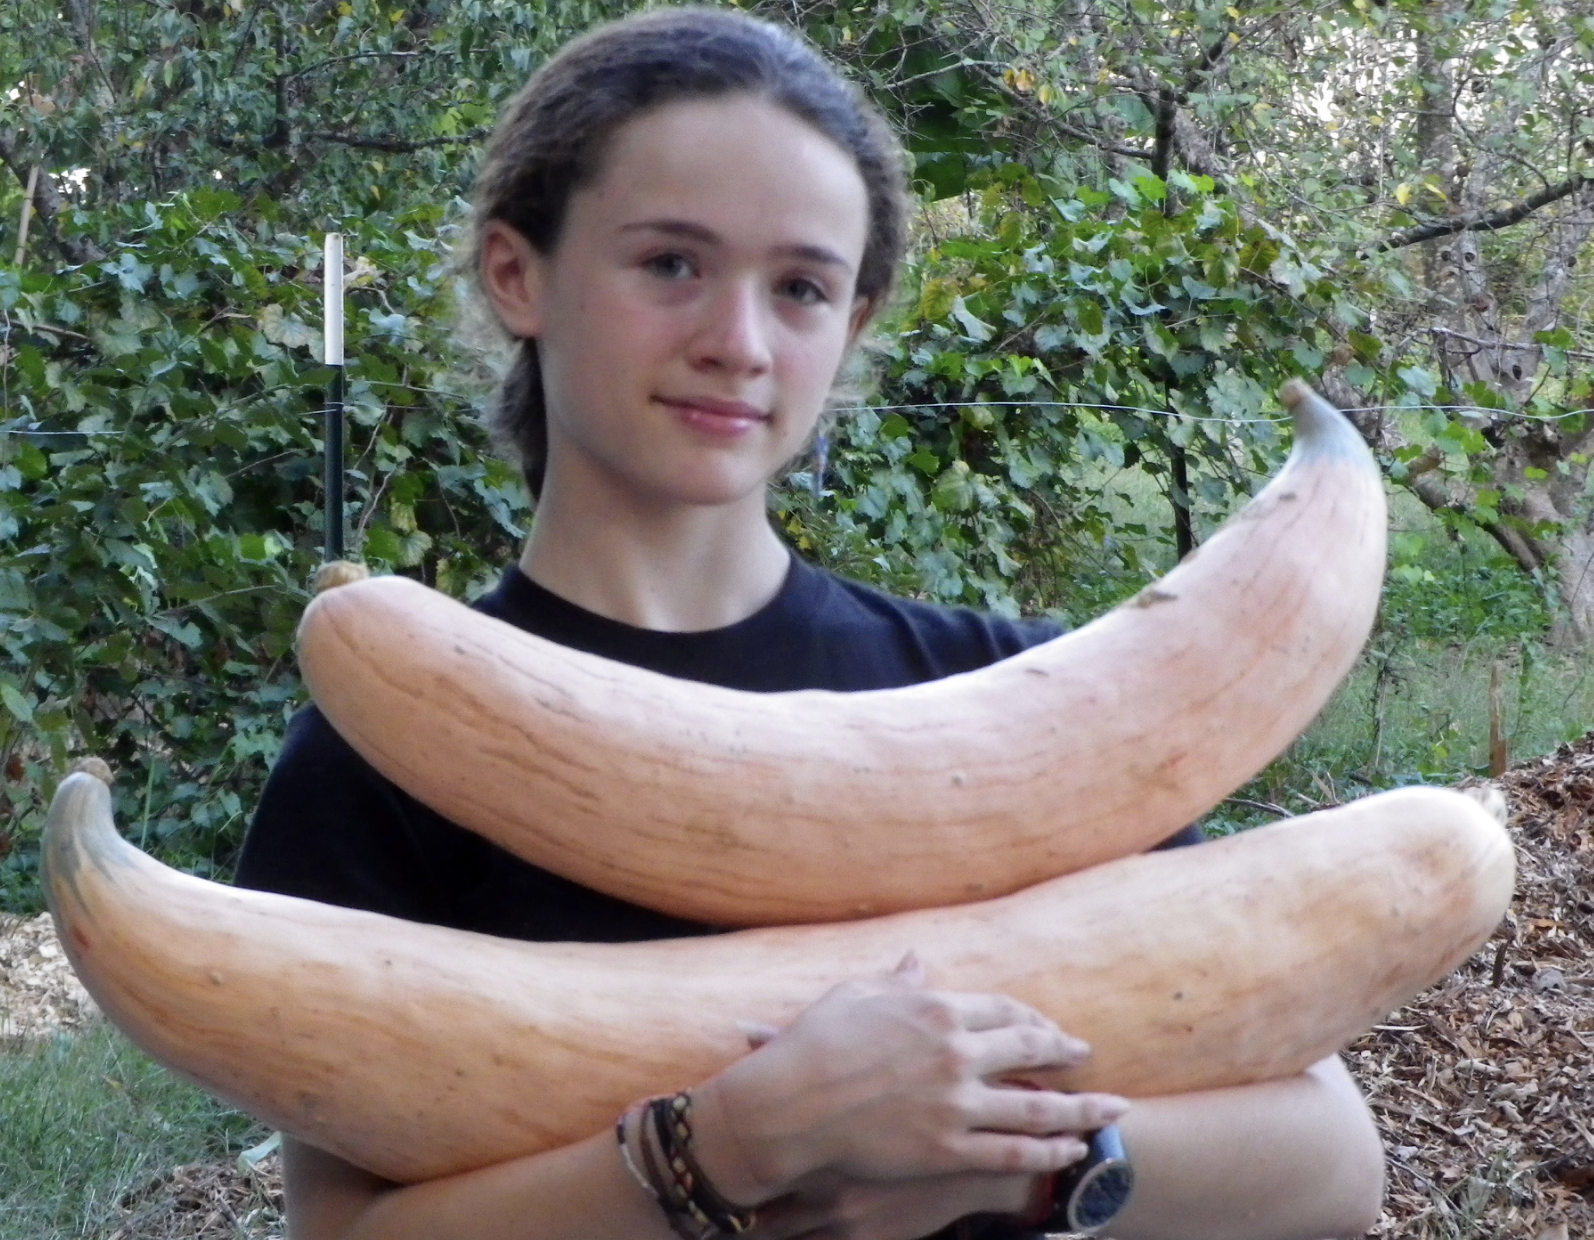
The Sweet Appalachian Heirloom: North Georgia Candy Roaster Winter Squash
If you visited a Thanksgiving feast in the Appalachian Mountains in the early 1900s, you might not have found pumpkin pie on the table. “Candy roaster pie” was the classic favorite for much of the mountain south.
This North Georgia heirloom is a rare variety that produces banana-shaped fruits up to 18 inches long and 6 inches wide with pink with blue tips. The fruits have smooth, sweet orange flesh.
Oregon’s “Eat Winter Squash” project found the North Georgia Candy Roaster to be one of the tastiest, most productive, and best storing winter squashes–see this link!
North Georgia Candy Roaster Winter Squash Seeds
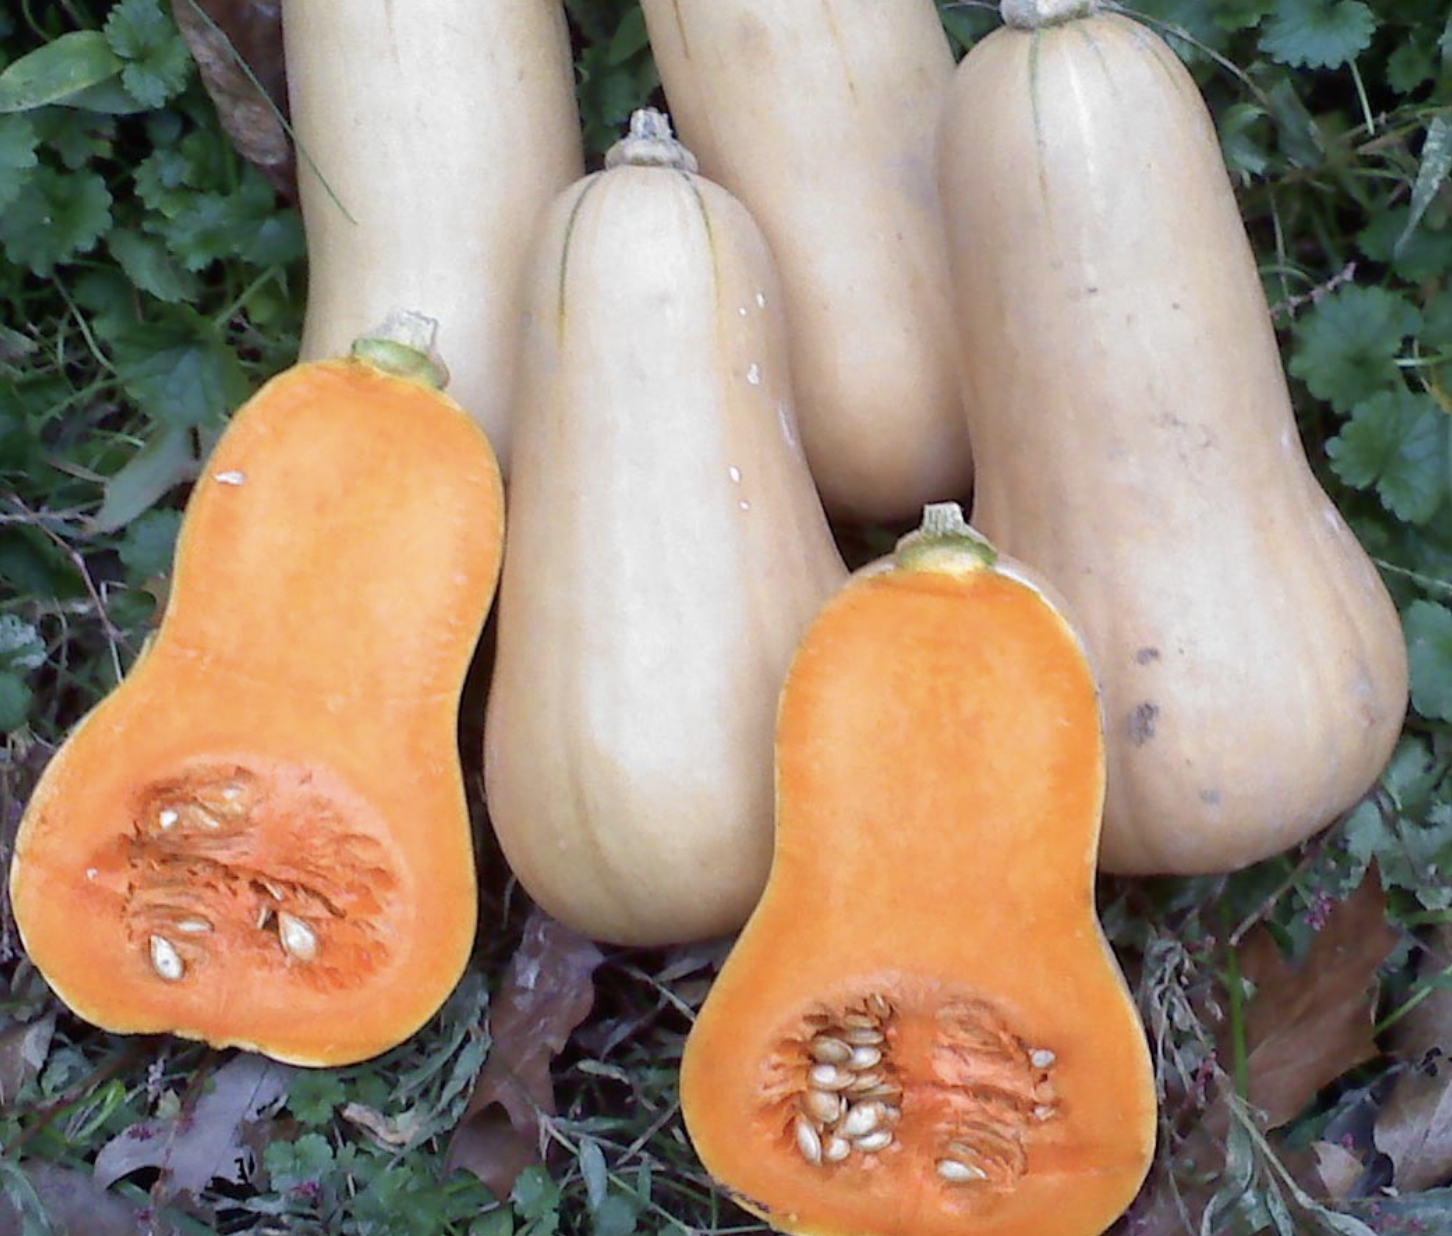
The Space Saver: Burpee’s Butterbush Winter Squash
Small garden? No problem. Burpee’s Butterbush offers sweet butternut flavor in a smaller package. Most plants are bush-like; some have short runners.
The fruits are easier and smaller than Waltham Butternut and may even be better tasting! The plants each produce about 3 to 6 1½ pound fruits with sweet orange flesh.
Burpee’s Butterbush Winter Squash Seeds
How to Avoid Common Winter Squash Problems
Winter squash and pumpkins are easy to grow, but aren’t immune to problems. Here are a few common issues we see in growing winter squash and how to correct them.
Downy Mildew
Downy mildew can be a huge issue for growers in the Southeast’s hot, humid summers. It’s a fungus-like organism that can reduce yields, cause misshapen fruit, and shorten the life of plants. Most fungicides are ineffective against downy mildew as it isn’t a true fungus.
Crop rotation can help reduce downy mildew pressure, but growers who struggle with it should also select disease-resistant cultivars. A few great options include Green-Striped Cushaw (Striped Crookneck) Winter Squash, Seminole Pumpkin, South Anna Butternut Winter Squash, and Thai Kang Kob Pumpkin.
Pest Issues
Unfortunately, there are several pests that enjoy feeding on winter squash and pumpkins, like squash bugs (Anasa tristis), striped cucumber beetles (Acalymma vittatum), spotted cucumber beetles (Diabrotica undecimpunctata), and squash vine borers (Melittia cucurbitae).
Proper crop rotation, cleaning up plant debris each fall, and encouraging beneficial insects can all help reduce pest pressure. In hard-hit areas, you can also use floating row cover to keep them away from your plants or select resistant cultivars. Waltham Butternut Winter Squash, Seminole Pumpkin, and Green-Striped Cushaw all have good vine borer resistance.
Poor Storage
If you want winter squash to last, you must harvest it when it’s fully ripe, allow it to cure for 7 to 10 days, and store it properly. For more information, visit our Guide to Harvesting and Curing Winter Squash and Pumpkins.
How long your squash will keep also depends on what variety you choose and can range from 2 to 12 months. If you’re looking for a cultivar that keeps well, consider Seminole Pumpkin (1 year), Tahitian Melon Winter Squash (9 months), Tan Cheese Pumpkin (1 year), or South Anna Butternut Winter Squash (6 months).