Flowers light up the garden, but they can also brighten your plate! There are many easy to grow, edible flowers that are perfect for adding to your favorite dishes, from cocktails and cupcakes to grilled fish and summer rolls. Here are 13 of our favorite edible flowers, their flavors, and how to enjoy them.
How to Use Edible Flowers
There are many ways to add edible flowers to your culinary creations. Here are a few of our favorites:
- Freeze flowers in ice cubes to add a pop of color to water and other beverages.
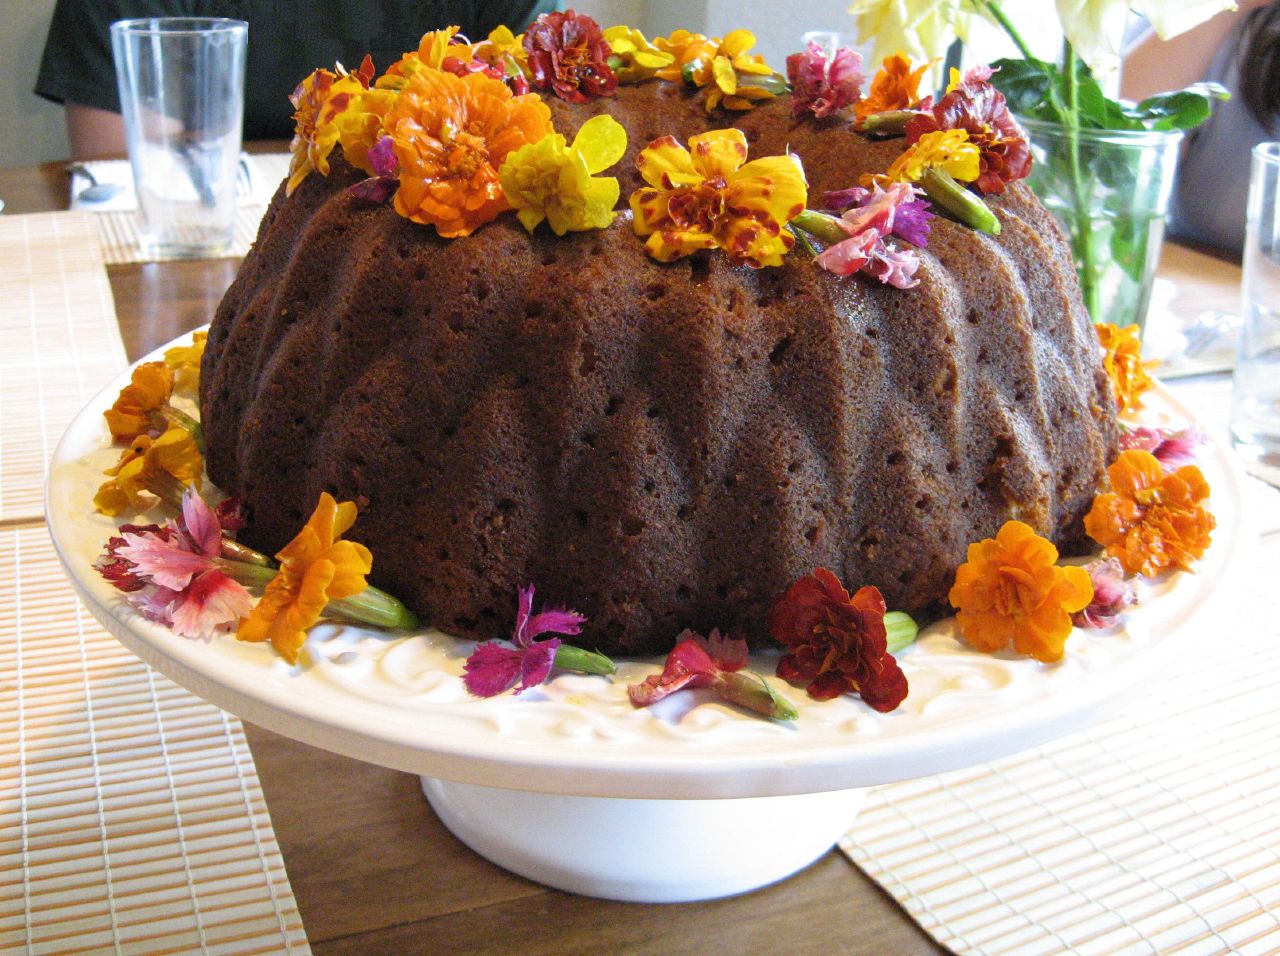
- Decorate cakes, cupcakes, cookies, ice cream and other sweets.
- Bake them into focaccia for a stunning snack.
- Muddle them in cocktails for a burst of flavor and color.
- Dry them for herbal tea blends.
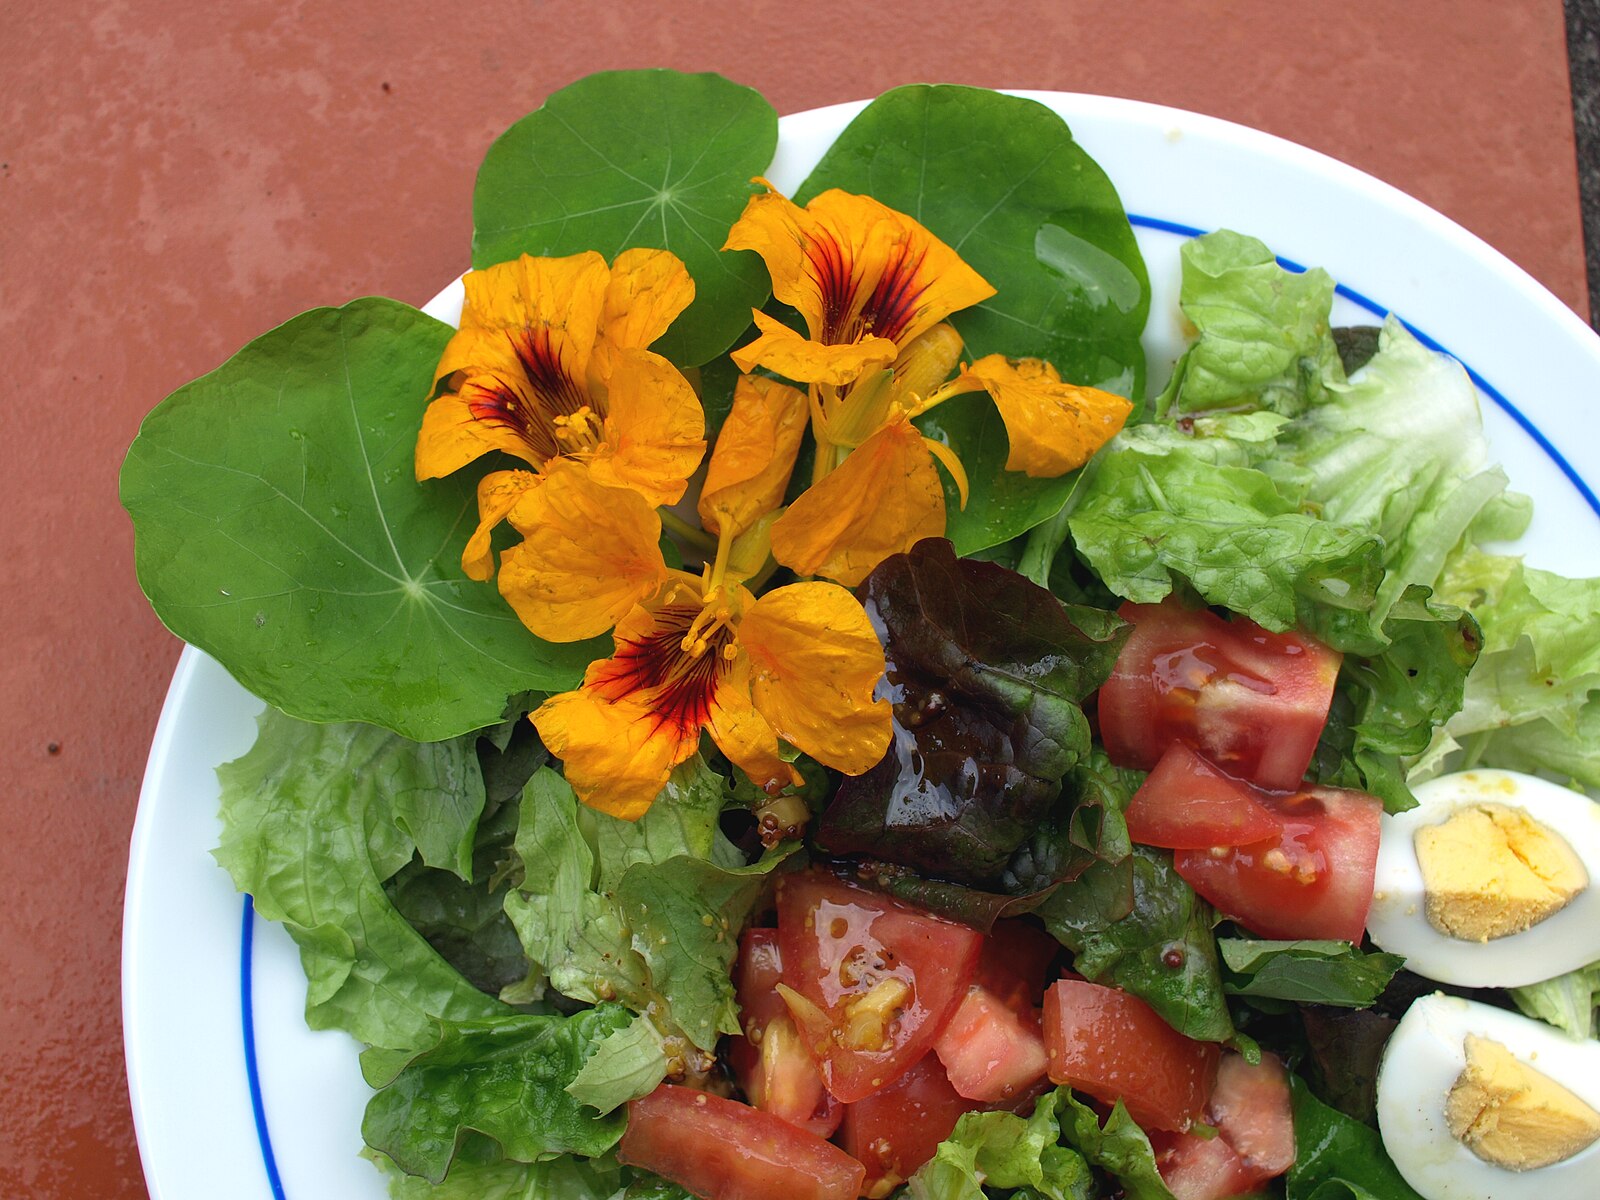
- Garnish salads, fish, meat, and other savory dishes for unique flavor and beauty.
- Add them to candy or lollipops.
- Wrap them with veggies in summer rolls for a rainbow appetizer.
- Press them into butter or soft cheeses.
- Infuse your local honey with them for sweetening teas and cocktails.
- Cook them with one part water and one part sugar before straining for a floral simple syrup.
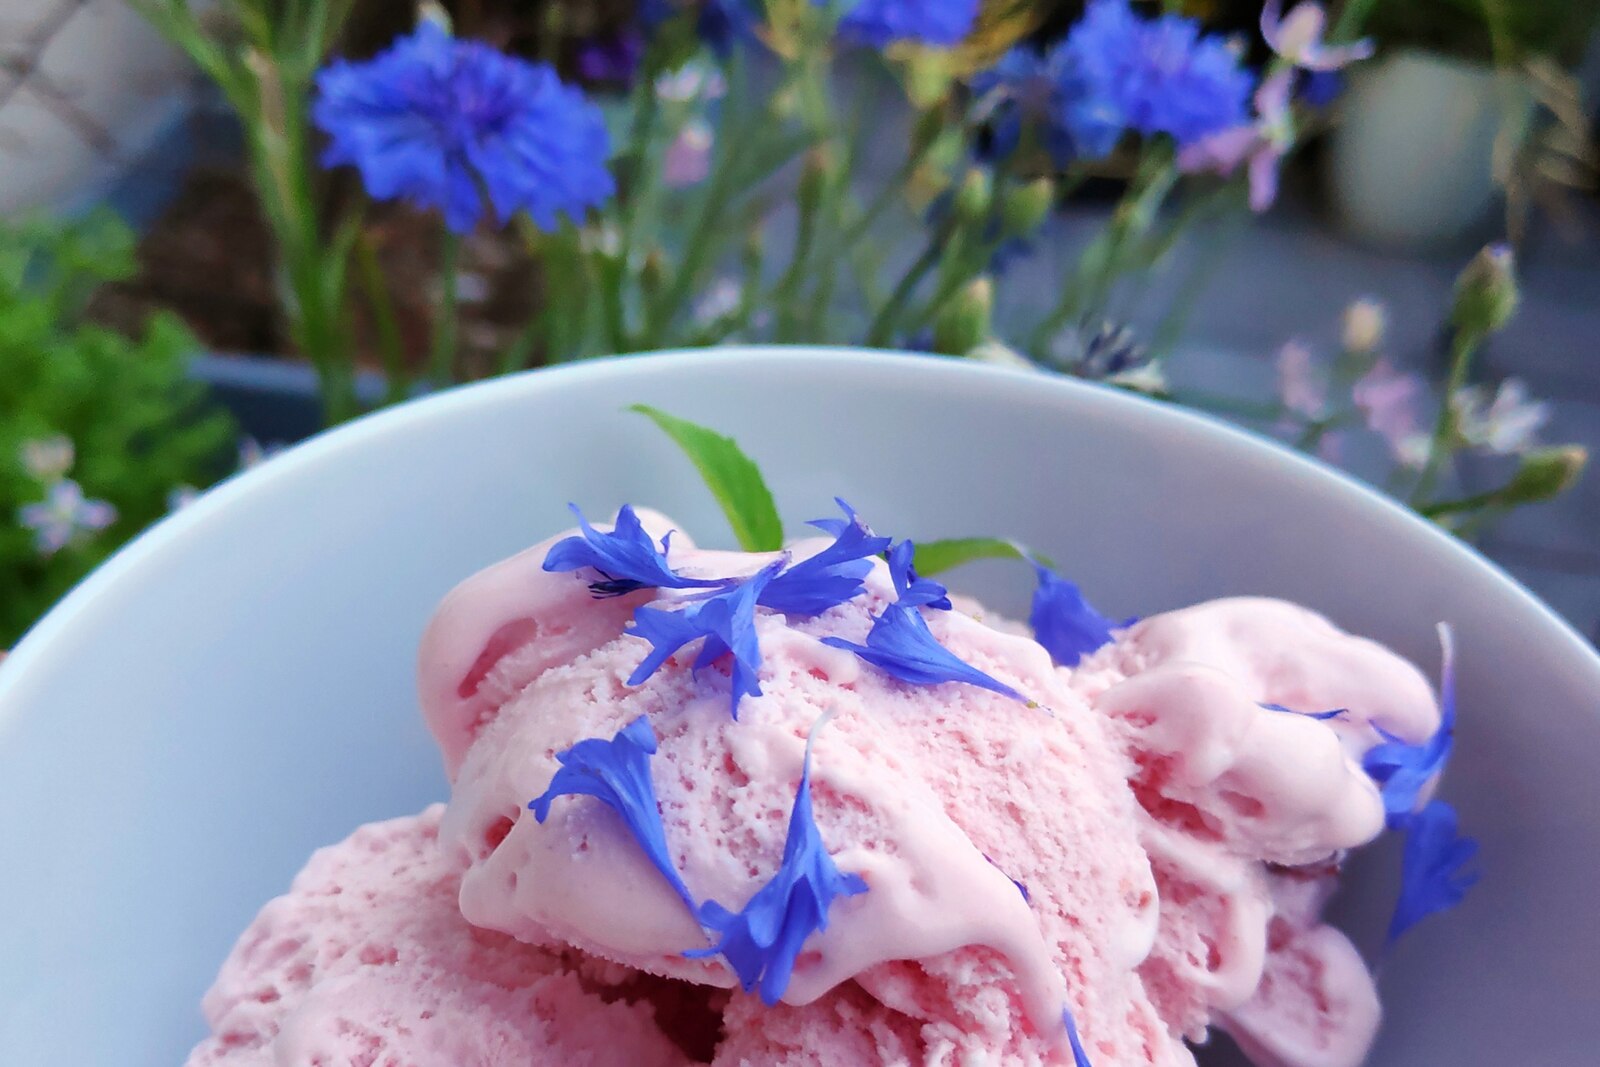
Bachelor’s Buttons on strawberry ice cream by Marek Slusarczyk, CC BY 3.0 <https://creativecommons.org/licenses/by/3.0>, via Wikimedia Commons
Our Top 13 Edible Flowers
There are many edible flowers, but these are a few of our favorites, their flavor, and what we often use them for. Feel free to experiment!
Bachelor’s Buttons
Mild, sweet flavor with a hint of spice or notes of cucumber and cloves ideal for topping ice cream, cakes, cocktails, and salads.
Bachelor’s buttons are easy to grow and hold their color well even when dried. You can find blue, deep maroon, pink, or purple bachelor’s buttons. Their mild flavor and fine petals make them ideal for various culinary applications.
Calendula
Tangy, slightly bitter flavor, but the petals work well in small amounts to brighten up cookies, salads, soufflés, and focaccia.
Sometimes called pot marigold, calendula is a favorite flower among herbalists for its skin-soothing properties, but it’s also edible. The petals are the best part; the base of the flower can be very bitter. Use the petals fresh or dried.
Marigolds
Citrusy, peppery, or minty flavor depending on the cultivar, makes them ideal for garnishing grilled meats and salads, muddling in vinaigrettes, or candying to add to desserts.
Not all marigolds are edible, so make sure you select an edible variety. French marigolds (Tagetes patula), African marigolds (Tagetes erecta), Mexican mint marigolds (Tagetes lucida), and lemon marigolds (Tagetes tenuifolia) are all edible and offer different flavors and colors.
Chamomile
Mild, sweet, honey-like flavor with hints of apple perfect for soothing teas, flavoring cakes, shortbreads, and cupcakes or decorating sweets.
Chamomile is an annual that you should start indoors when working with seed. It needs light to germinate, but it’s fairly easy to grow once it gets going. Harvesting often encourages more blooms.
Violas
Mild, sweet flavor with hints of mint, vanilla, wintergreen or earthy tones perfect for pressing flat on cookies, sugaring, ice cubes, summer rolls, and candies.
Cool-weather violas are usually one of our earliest flowers of the season. You can find perennial and annual viola varieties in various colors. We carry one old-fashioned viola variety, Johnny Jump-Ups, with tricolor blooms of purple, blue, and yellow.
Lavender
Strong floral flavor that’s the classic choice for afternoon tea in cakes, shortbreads, herbal tea blends, or pressed into cheese or butter.
You can start lavender from seed, but it germinates slowly, so be sure to give it plenty of time. The variety we carry, English Munstead, is perennial in zones 5 through 10. Lavender can be tricky to grow. It needs well-drained soil, full sun, and protection from the wind to thrive.
Nasturtiums
Mild, peppery or watercress-like flavor ideal for butters, cheeses, salads, and summer rolls.
Nasturtiums are easy to grow, trailing annuals that add tons of interest to the garden. The flowers are usually shades of orange, yellow, or red. Like the blooms, the leaves are edible and have a more pronounced pepper flavor. Some cooks also like to pickle immature nasturtium seed heads as a caper substitute.
Roses
Sweet, floral flavor excellent for herbal teas, simple syrups, ice cream, baked goods, cocktails, and ice cubes.
Roses are perennial shrubs that with various growing habits. You can find shrub roses, climbing roses, rambling roses, and even dwarf roses that will grow well in a large container.
Borage
Mild cucumber flavor perfect for muddling in cocktails, garnishing desserts, adding color to salads, and freezing in ice cubes.
Borage is an easy-to-grow annual herb, well-known for its bright blue, star-shaped flowers. The flowers are tasty and a great way to attract bumblebees. The leaves are also edible and have a distinct cucumber-like flavor.
Anise-Hyssop
Sweet, minty, black licorice-like flavor ideal for baked goods, cocktails, teas, and salads.
This lovely herb is a member of the mint family native to the north-central United States. Anise-Hyssop is an easy to grow, short-lived perennial that’s great for attracting pollinators. Both the leaves and flowers are edible and may have medicinal properties.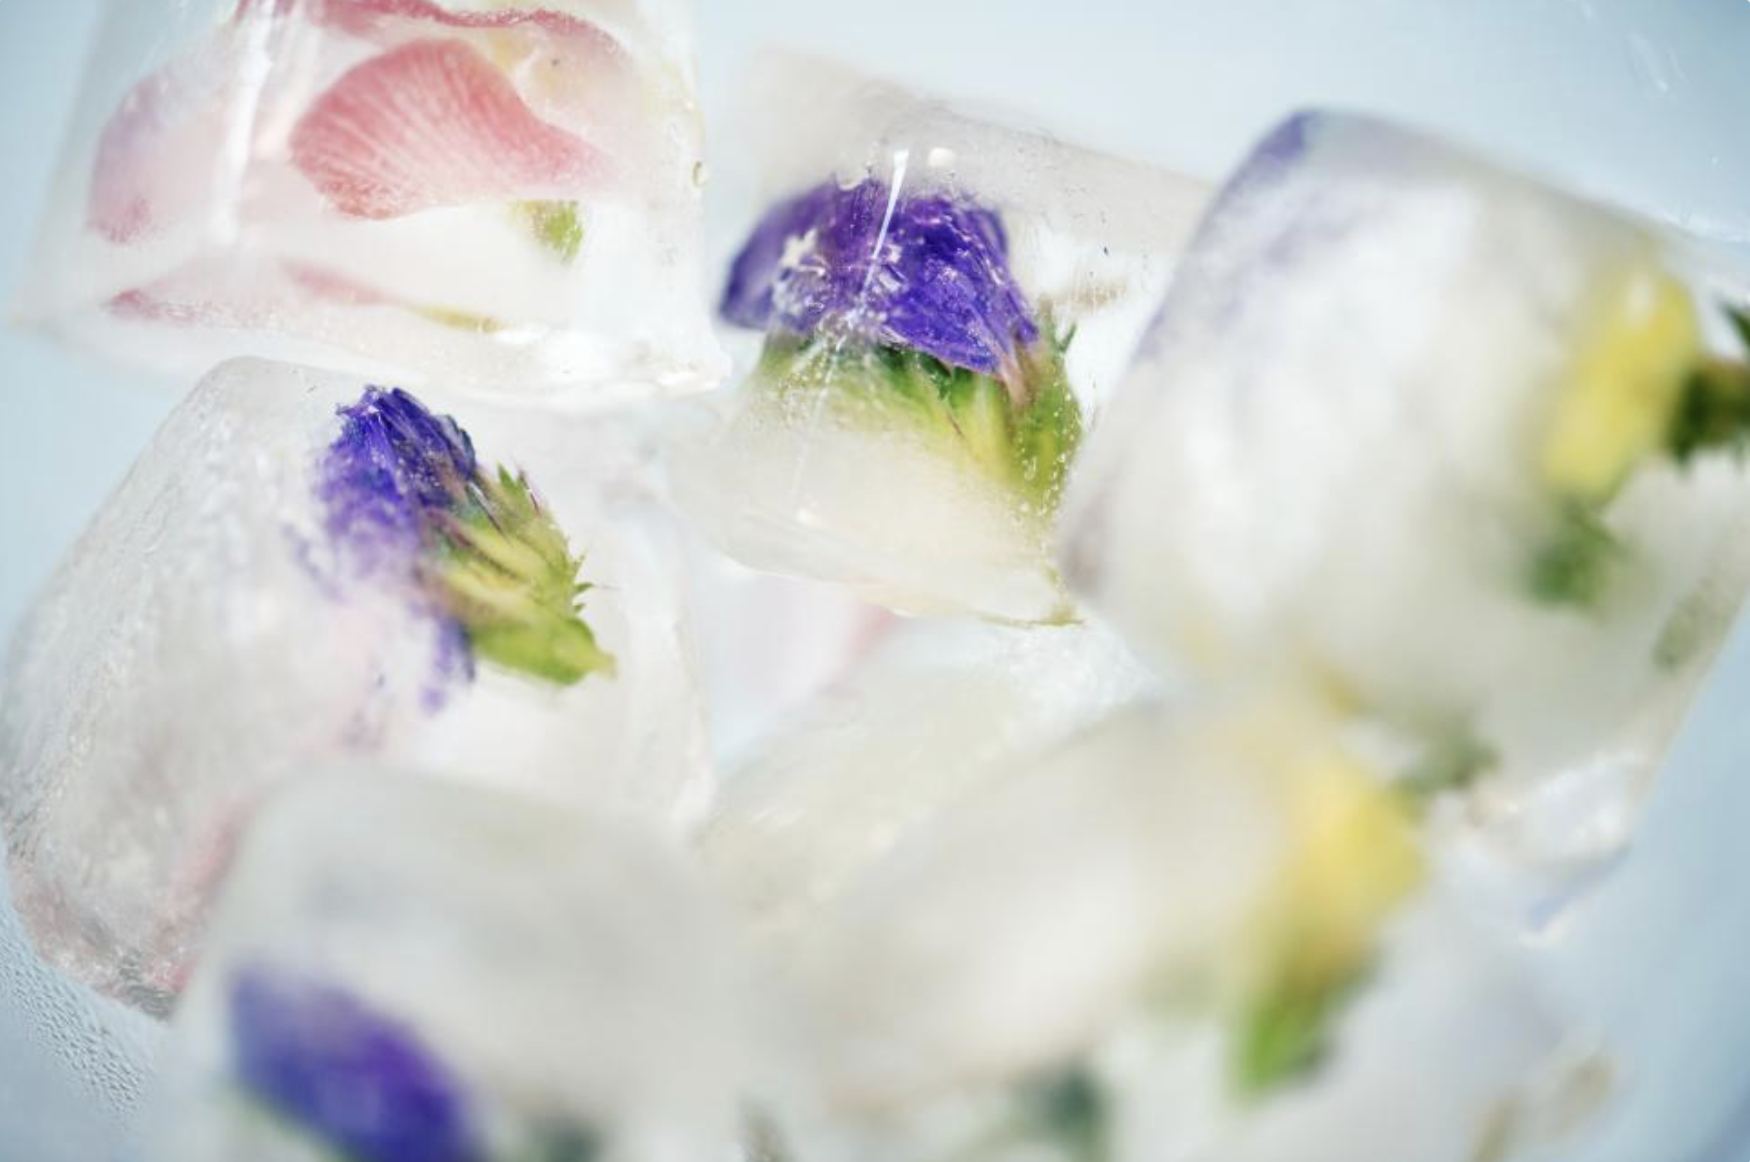
Rosselle
Tart cranberry-like flavor perfect for teas, jam, sauce, syrup, and ice cream.
Historically known as “Florida cranberry” in the 1890s, roselle is a member of the hibiscus family that produces bright red calyxes with incredible flavor. The flowers and leaves are also edible and share the cranberry-like flavor of the calyces. The calyces are an important ingredient in zinger tea.
Bergamot
A blend of mint and oregano with some citrus notes perfect for salads, teas, dressings, and seasoning fish and meat dishes.
Bergamot also called monarda or bee balm, is a beautiful perennial that flourishes in zones 4 through 9. It’s great for attracting hummingbirds and may have medicinal properties. Our Lemon Bergamot is a variety native to the Appalachians.
Zinnias
A somewhat bitter flavor with notes of arugula, peas, or anise that works well as a colorful garnish for drinks, salads, and baked goods.
Zinnias are among the easiest and most colorful flowers you can grow. They’re annuals that bloom all summer long. Harvesting encourages branching and more blooms. Using the petals instead of the whole flower can eliminate some of the bitterness.