We’ve often discussed succession planting vegetable crops like sweet corn, zucchini, and bush beans to avoid gluts and shortages here on the blog, but it’s also an excellent technique for flower gardening. Whether you’re growing cut flowers for market, to provide food for pollinators, or just to enjoy their beauty, succession planting flowers can help you achieve your goals. In today’s post, we’ll dive into why succession planting is important, how to do it, and our favorite flowers for succession planting.
Why Should I Succession Plant Flowers?
Succession planting ensures that you have fresh blooms all summer long and into autumn, whether you want them for bouquets, bees, or beautiful landscaping.
Even when you have flower varieties that say they bloom all season, that may not be the reality. In the Southeast, annual flowers can stop blooming early as the plants weaken under the stress of hot summer days, drought, and prevalent fungal diseases.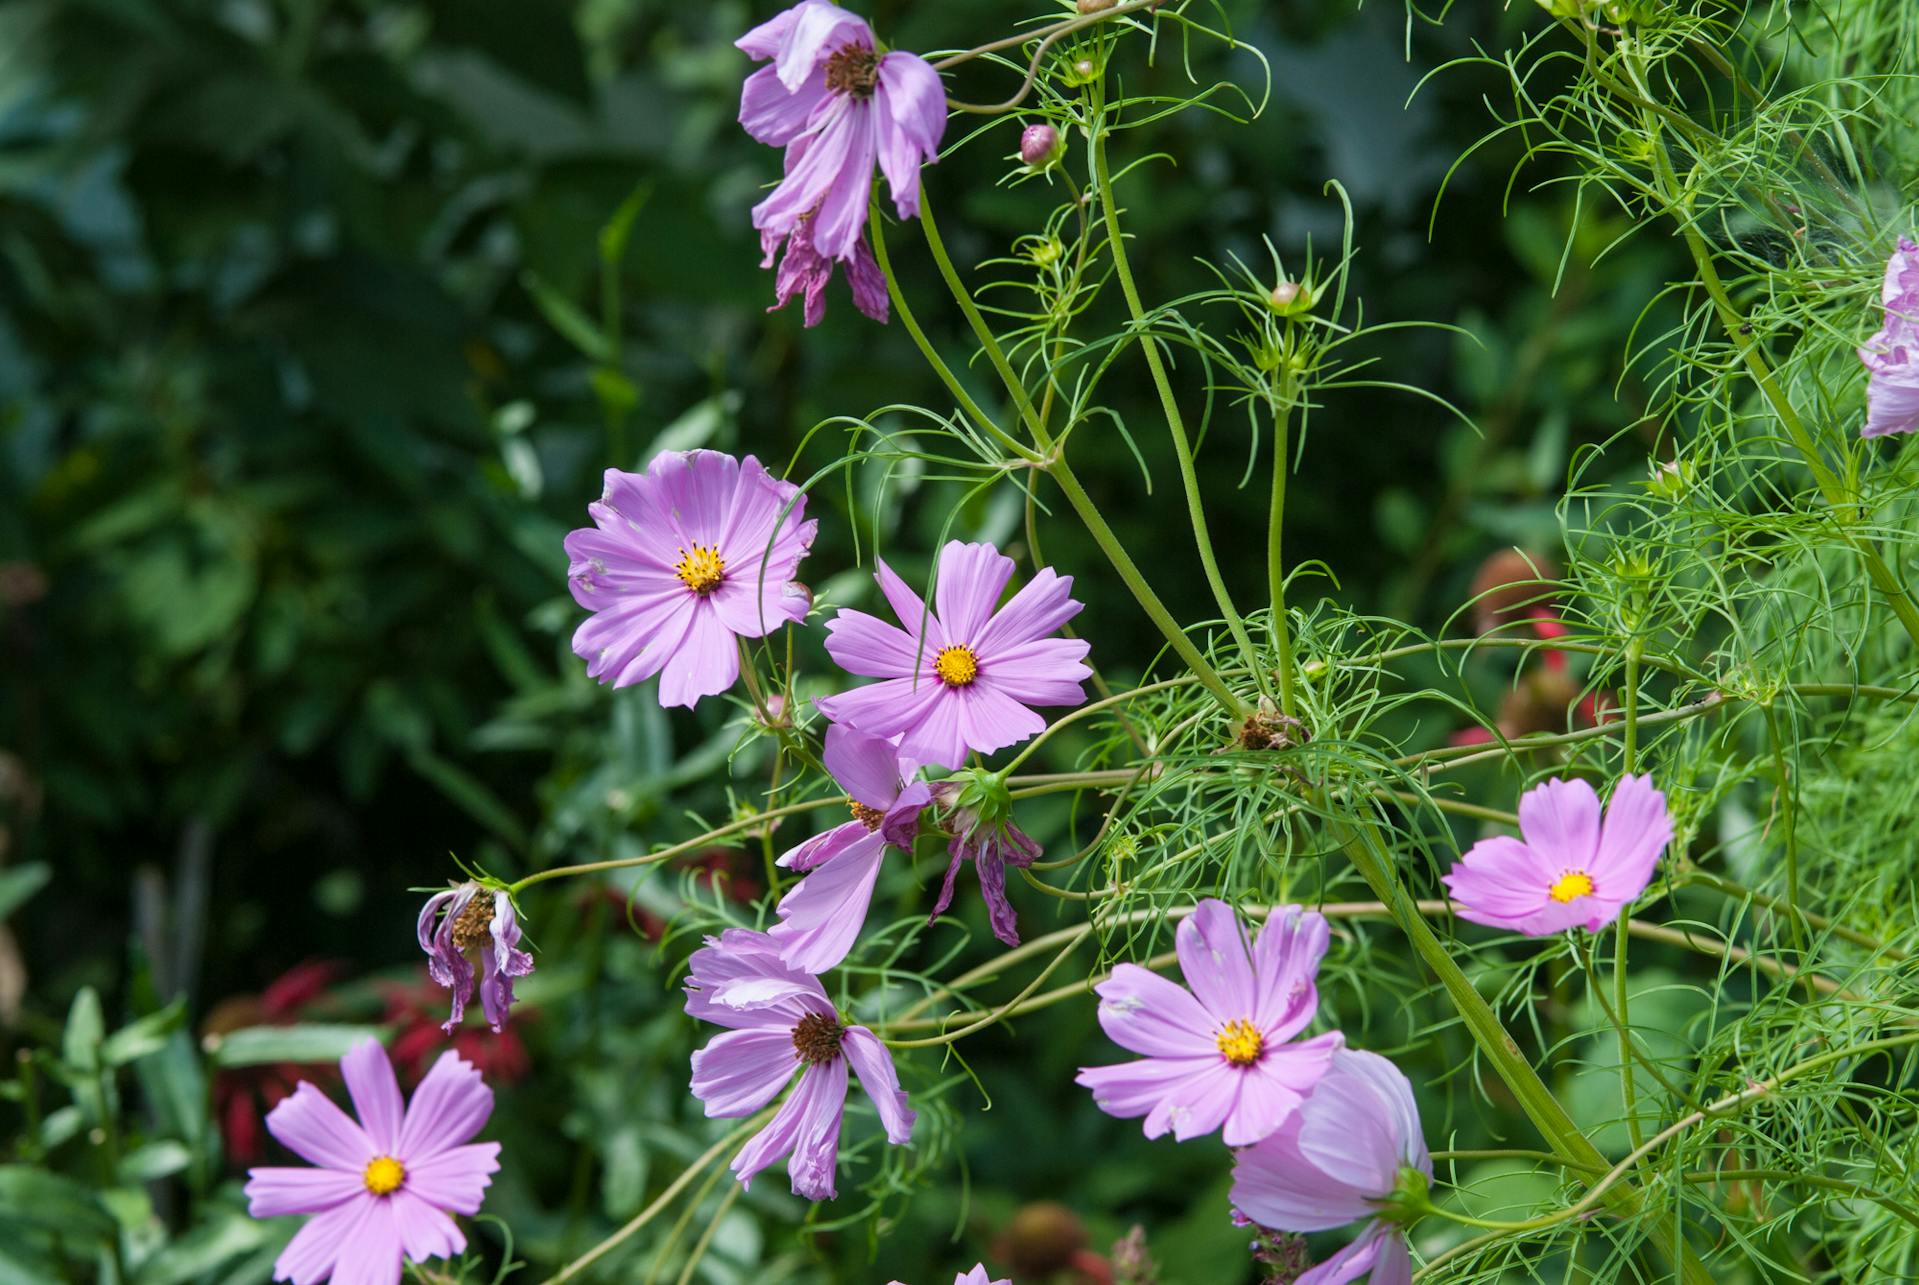
How to Succession Plant Flowers
Succession planting is simple. It means you’re dividing up your plantings into smaller groups, rather than sowing all of your flowers at once. Typically, we plant a new succession every two to three weeks.
To determine when to start sowing, you’ll need to know your last spring frost date and your variety’s ideal growing conditions. For warm-weather annuals like zinnias, you’ll need to wait until all danger of frost has passed, but you can sow cool-weather loving flowers like sweet peas much sooner. Once the conditions are right, you can begin sowing every two to three weeks.
For cool weather loving crops, sow a couple of successions in spring and then another in late summer for fall. For warm-weather crops, you can usually sow successions all summer.
To determine when to stop sowing, you’ll need your first fall frost date. Using your first frost date for fall, you can count backward with a chosen variety’s days to maturity. To account for slow growth in the dwindling light of autumn, add an additional 15 days. That will be the last date you can sow that type of flower.
Example: Let’s say my average first fall frost date is October 20th and I want to grow successions of Mexican Cosmos all summer. Mexican Cosmos take 68 days to bloom. I’ll add an extra 15 days to 68 to account for slow growth for a total of 83 days. Then I’ll count backward 83 days from October 20th, which would be July 29th. This is the last possible date I can sow a succession to get blooms before a frost.
You don’t have to use a calendar to count by hand; try a time and date calculator like this one.
You can also stagger your flower season by choosing species and varieties that have different days to maturity. This will naturally help to spread out your blooms.
Whenever a bed of flowers fades or dies, pull it immediately, look at your planting list and sow a new succession. This can happen when cool-weather flowers like violas succumb to the summer heat, or you harvest all of your early sunflower blooms for market.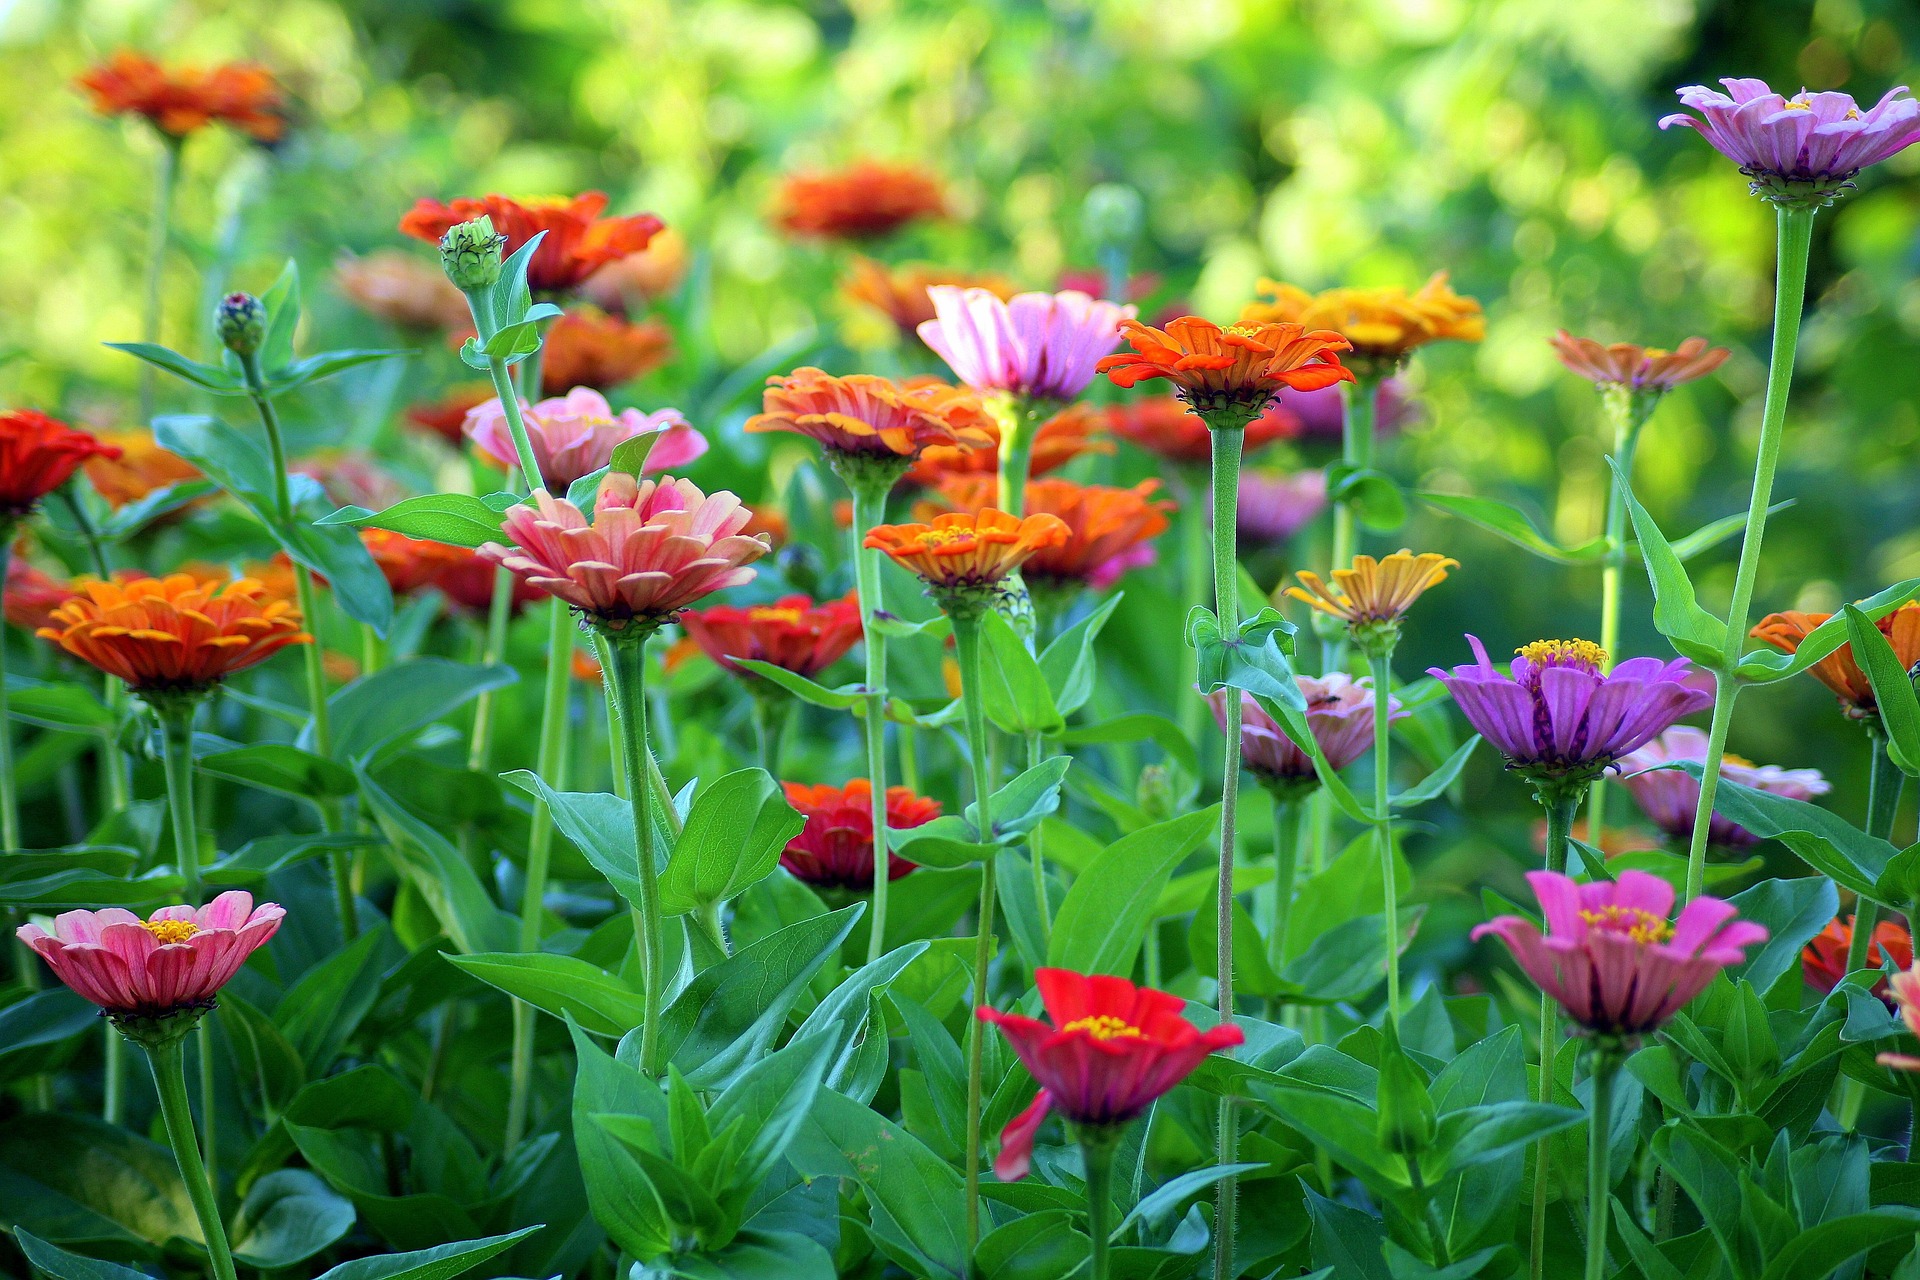
7 Easy Flowers for Succession Planting
Easy to grow and quick to bloom, these are the workhorses of the continuously blooming flower garden.
Zinnias
Zinnias are colorful, easy to grow, prolific, and versatile. Most zinnia varieties take between 60 and 80 days to bloom, meaning you can usually get several successions in before fall. For extra early blooms, you can start zinnias indoors in trays about four to six weeks before your last spring frost. Transplant them out into beds once all danger of frost has passed.
Cosmos
Like zinnias, cosmos are easy to grow, colorful, and prolific. Some varieties, like Sensation Mix, begin blooming in as little as 45 days, making them ideal for getting the most out of a small flower garden. You can start cosmos indoors in containers about four to six weeks before your last spring frost and transplant them out after danger of frost has passed.
Sunflowers
Sunflowers are some of our favorites at Southern Exposure. These cheerful blooms are great for cut flowers and enjoyed by pollinators, songbirds, and humans alike. Unlike cosmos and zinnias, sunflowers don’t offer continuous, prolific blooms. If you want to enjoy fresh sunflowers over a long season, you need to succession plant. Multi-headed sunflowers offer the most blooms and are usually ready to harvest in just 50 to 60 days.
Most people direct sow sunflowers, but you can also start them indoors about 2 to 4 weeks before your last spring frost. Transplant them outdoors when all danger of frost has passed.
Calendula
Calendula doubles as both a beautiful flower and a medicinal herb. You can also use calendula petals to decorate baked goods or add pops of color to salads and garnishes. Its short days to maturity and attractive blooms make it ideal for succession planting. The two calendula varieties we carry each take about 85 days to bloom.
You can begin sewing calendula indoors about 4 to 8 weeks before your last spring frost date, then transplant it out when all danger of frost has passed.
Amaranth
Amaranth varieties like Love-Lies-Bleeding, Mayo India, and Golden offer so many benefits. In addition to working well in cut flower arrangements, they’re highly nutritious, fully edible plants that are drought-resistant, easy to grow, and attractive to pollinators. They typically bloom in about 60 to 90 days.
If desired, start amaranth indoors about 6 to 8 weeks before your last spring frost and transplant them out when the danger of frost has passed.
Marigolds
Most articles about succession planting flowers focus on cut flower market farming. While marigolds may not be a popular flower for bouquets, they are great for succession planting. Succession planting marigolds ensures you have a steady supply of beautiful blooms that will attract pollinators and deter pests.
Start sowing marigolds indoors about 6 to 8 weeks before your last spring frost and transplant them out when all danger of frost has passed.
Celosia
There’s a lot to love about Celosia. It offers fun colors and unique shapes, and it’s long-lasting in the garden and in the vase. Celosia is also an excellent candidate for succession planting. However, most varieties take 90 to 100 days to bloom. Even when you start your successions early, you will only get in a couple.
To start Celosia indoors, sow it in flats or containers about 6 to 8 weeks before your last spring frost. It will be ready to transplant out after all danger of frost has passed.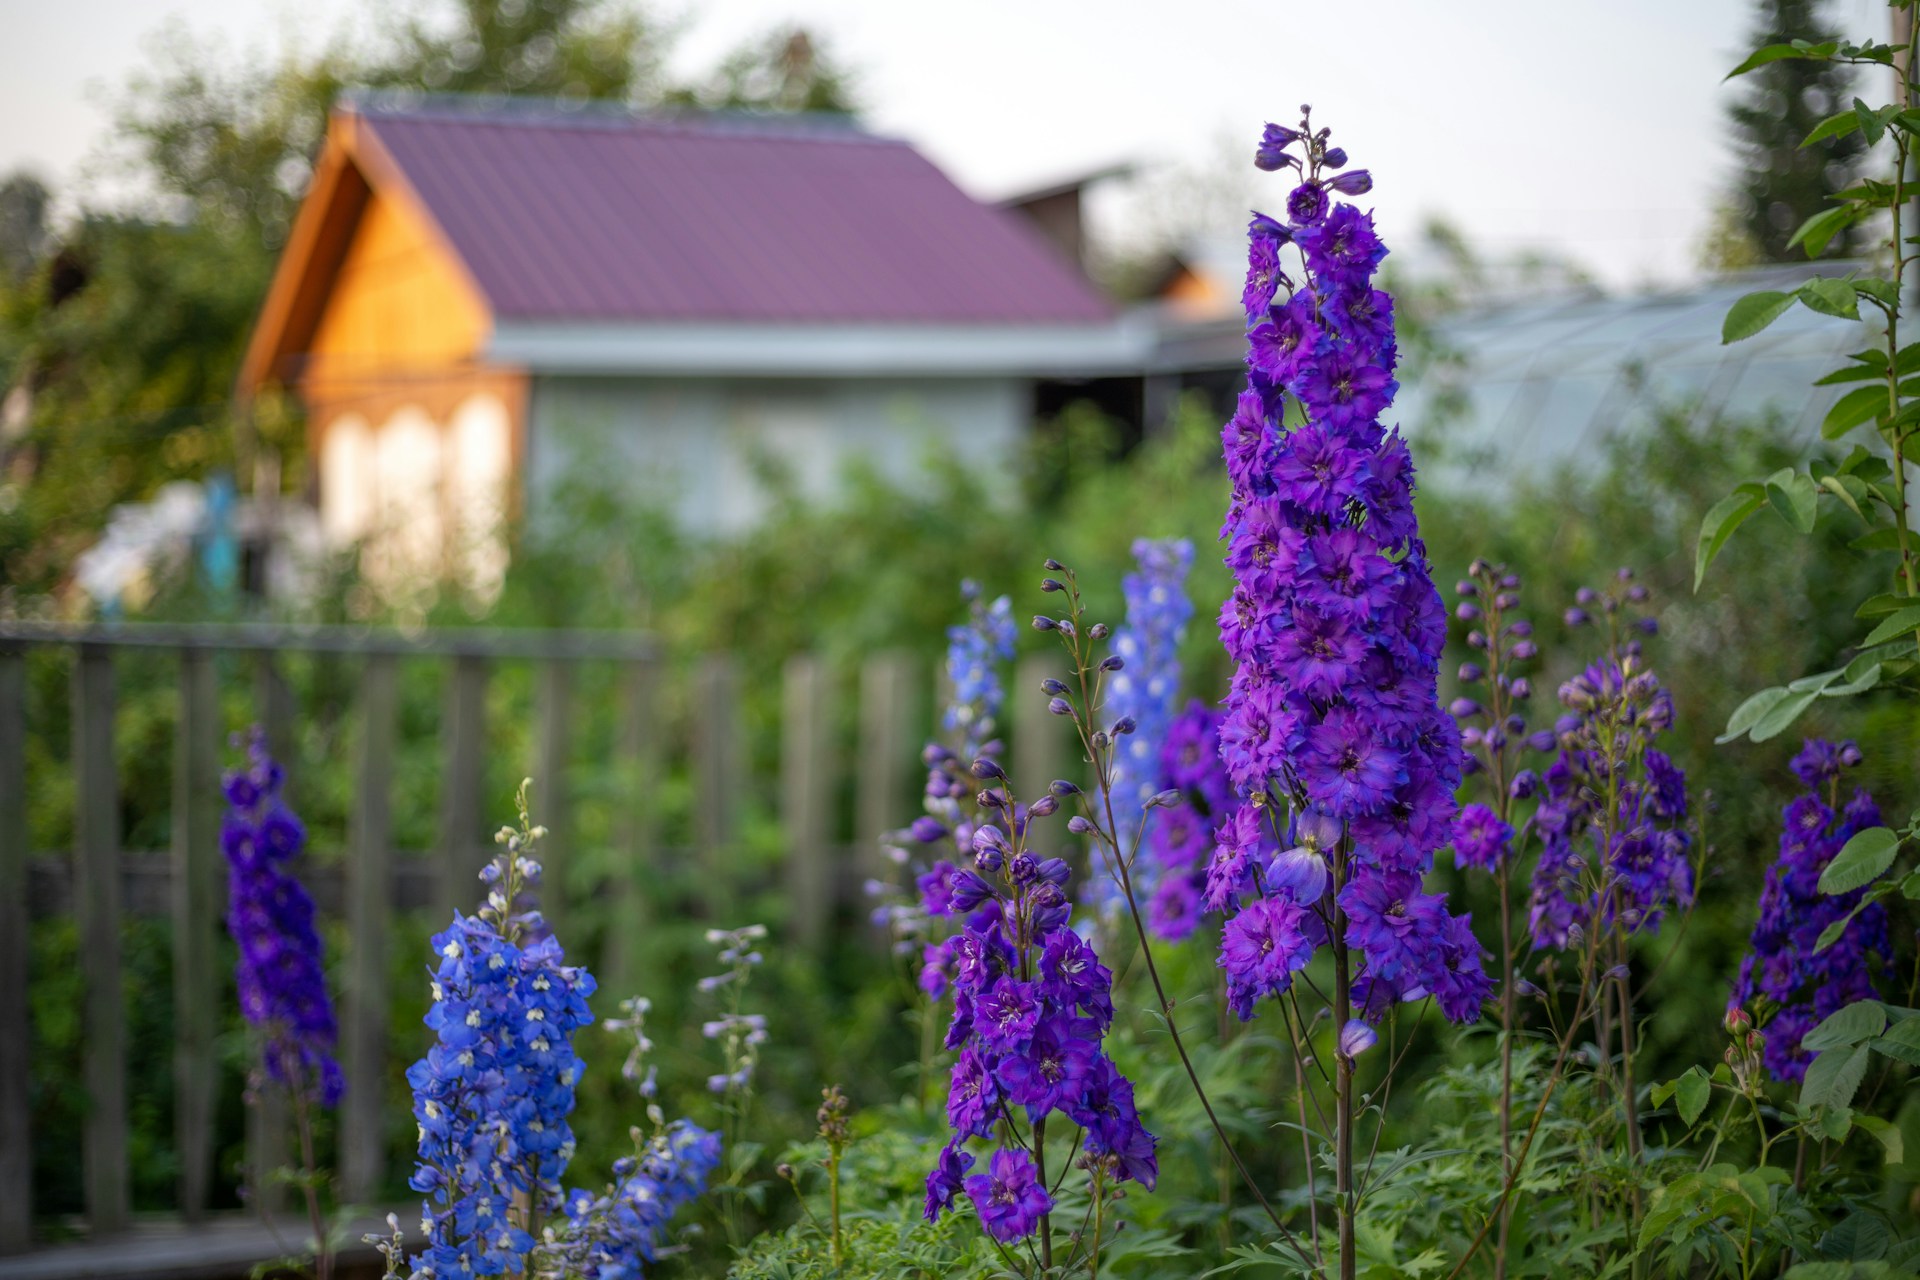
Other Options for Spring and Fall Successions
There are many other flowers you can succession plant. Some, like larkspur, thrive in spring’s cool weather, and others, like rudbeckia, take longer to bloom, making them ideal for fall.
- Larkspur
- Sweet peas
- Snapdragons
- Poppies
- Rudbeckia
- Bells of Ireland
- Dara
- Queen Anne’s Lace
- Bachelor’s Buttons