
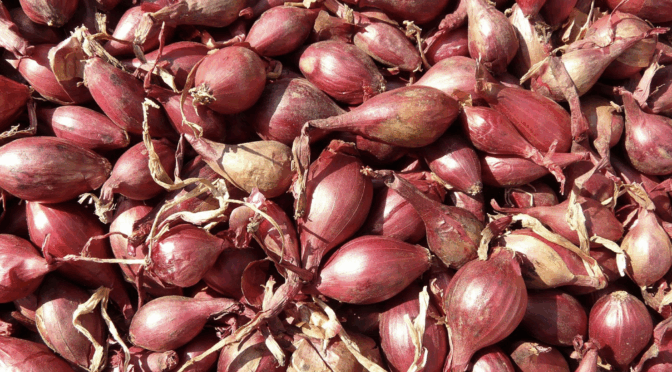
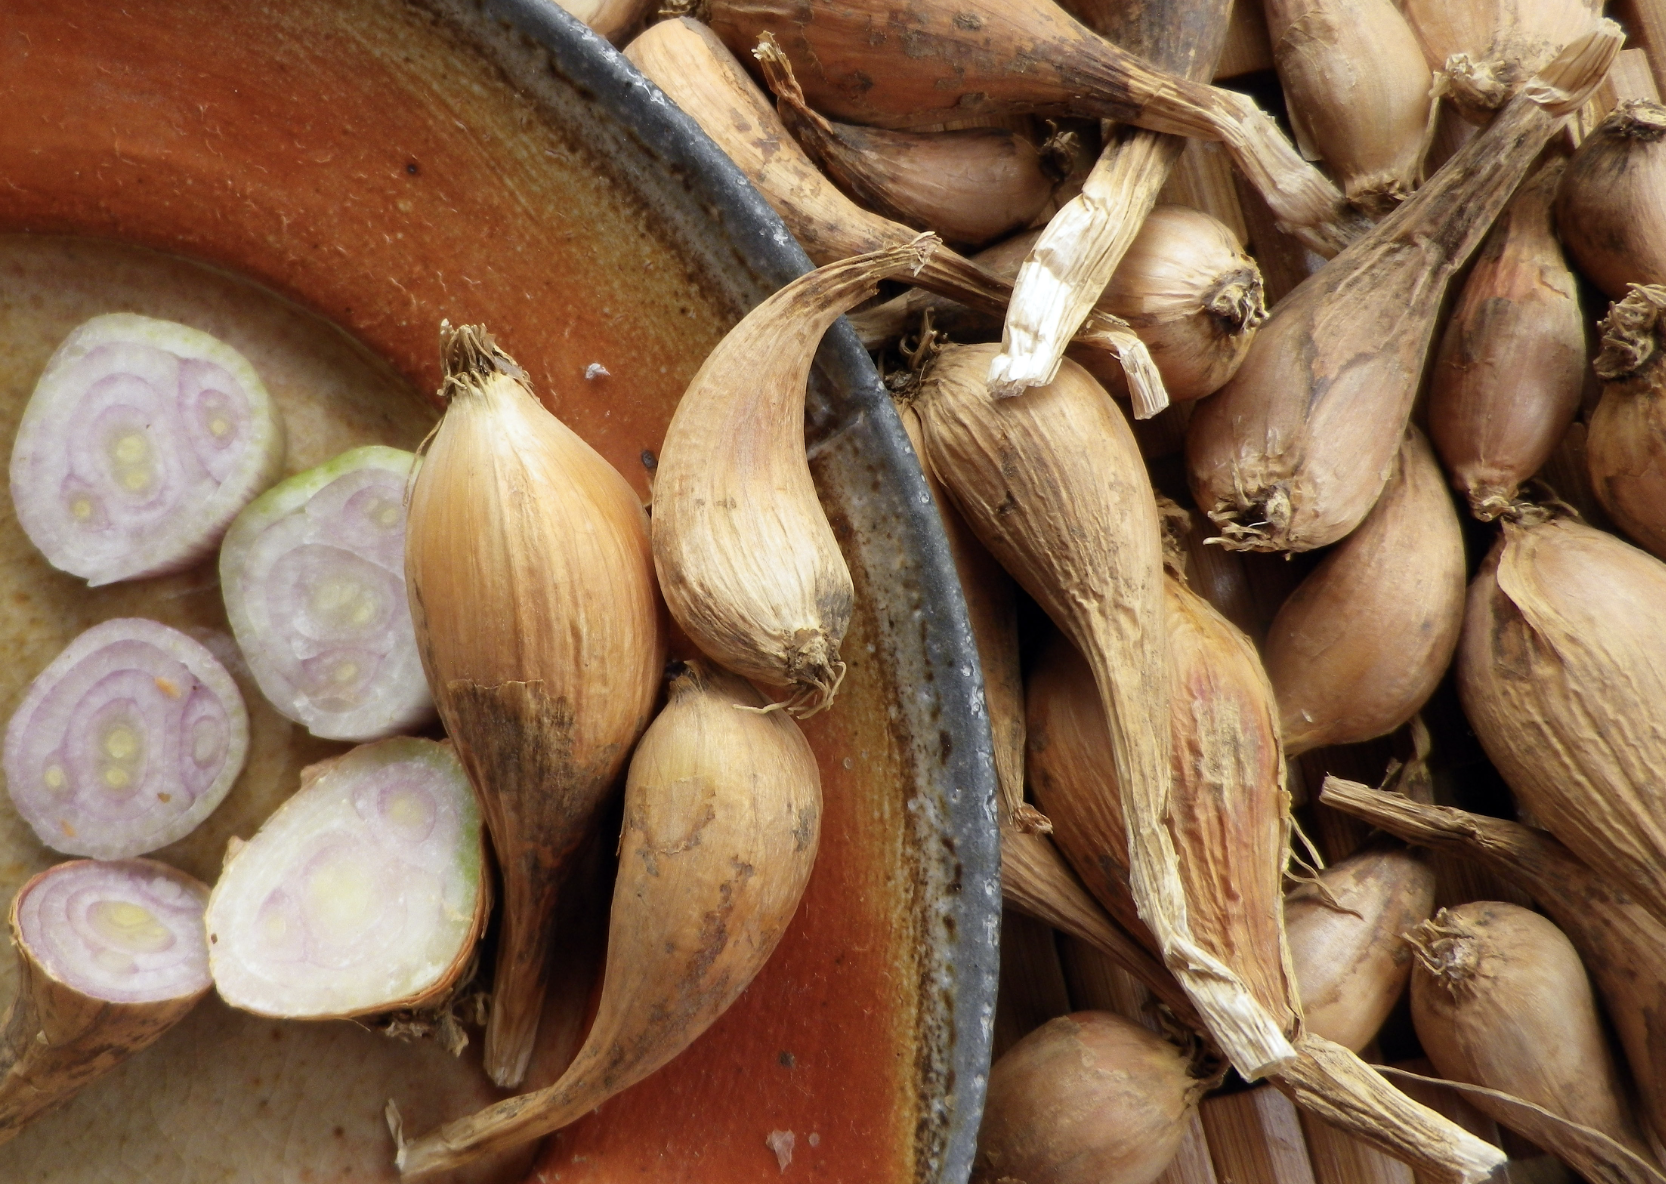
Shallots are the small, sweet cousins of bulb onions. They’re elongated in shape and feature a milder, sweeter, more refined flavor than many of our bulb onions. They’re a speciality in French cuisine and are delicious raw, roasted, sautéed, or pickled. Unlike bulb onions, shallots are perennial, and we start them in the fall from sets.
Soil Preparation
Shallots will grow in a range of soil types, but do best in loose, well-drained soil like sandy loam. Unfortunately, most gardeners aren’t blessed with this ideal soil, so the important thing is to focus on soil structure. Work to add organic matter to the soil by adding amendments like compost, aged manure, well-rotted sawdust, or peat moss. In areas with poor, soggy soil, raised beds are another excellent option.
If you have time, you can also add organic matter by growing cover crops like buckwheat during the summer.
When to Plant Shallots
You can plant shallot bulbs in the spring or fall, but you will have significantly reduced yields from spring planting. However, a harsh winter may kill fall-planted bulbs, especially if you plant them improperly or fail to protect them. We strongly recommend holding some bulbs for spring planting as insurance against losing your planting stock. If you plant in both spring and fall, plant the largest bulbs in the fall and save the smaller bulbs for spring.
Fall planting: In areas with mild-to-moderate winter weather such as Virginia, plant shallots from mid- October until about mid-December. Planting too early encourages disease and damage from rodents. Planting too late prevents the roots from becoming established before winter.
We plant large bulbs earlier, and small bulbs later. Early to mid-November is usually the best planting time. Farther north or in mountainous areas, plant at least 2 to 3 weeks earlier. In warmer areas, plant 2 to 3 weeks later. Fall-planted onions will often grow enough to produce green onions for mid-December harvest. This top growth may be winter-killed, but growth will resume in the spring.
Spring planting: Plant as soon as the soil can be worked (often late winter). Spring-planted bulbs may mature 1 to 2 weeks later than fall-planted bulbs. Shallots are less likely to bolt if spring-planted, but yields will be smaller.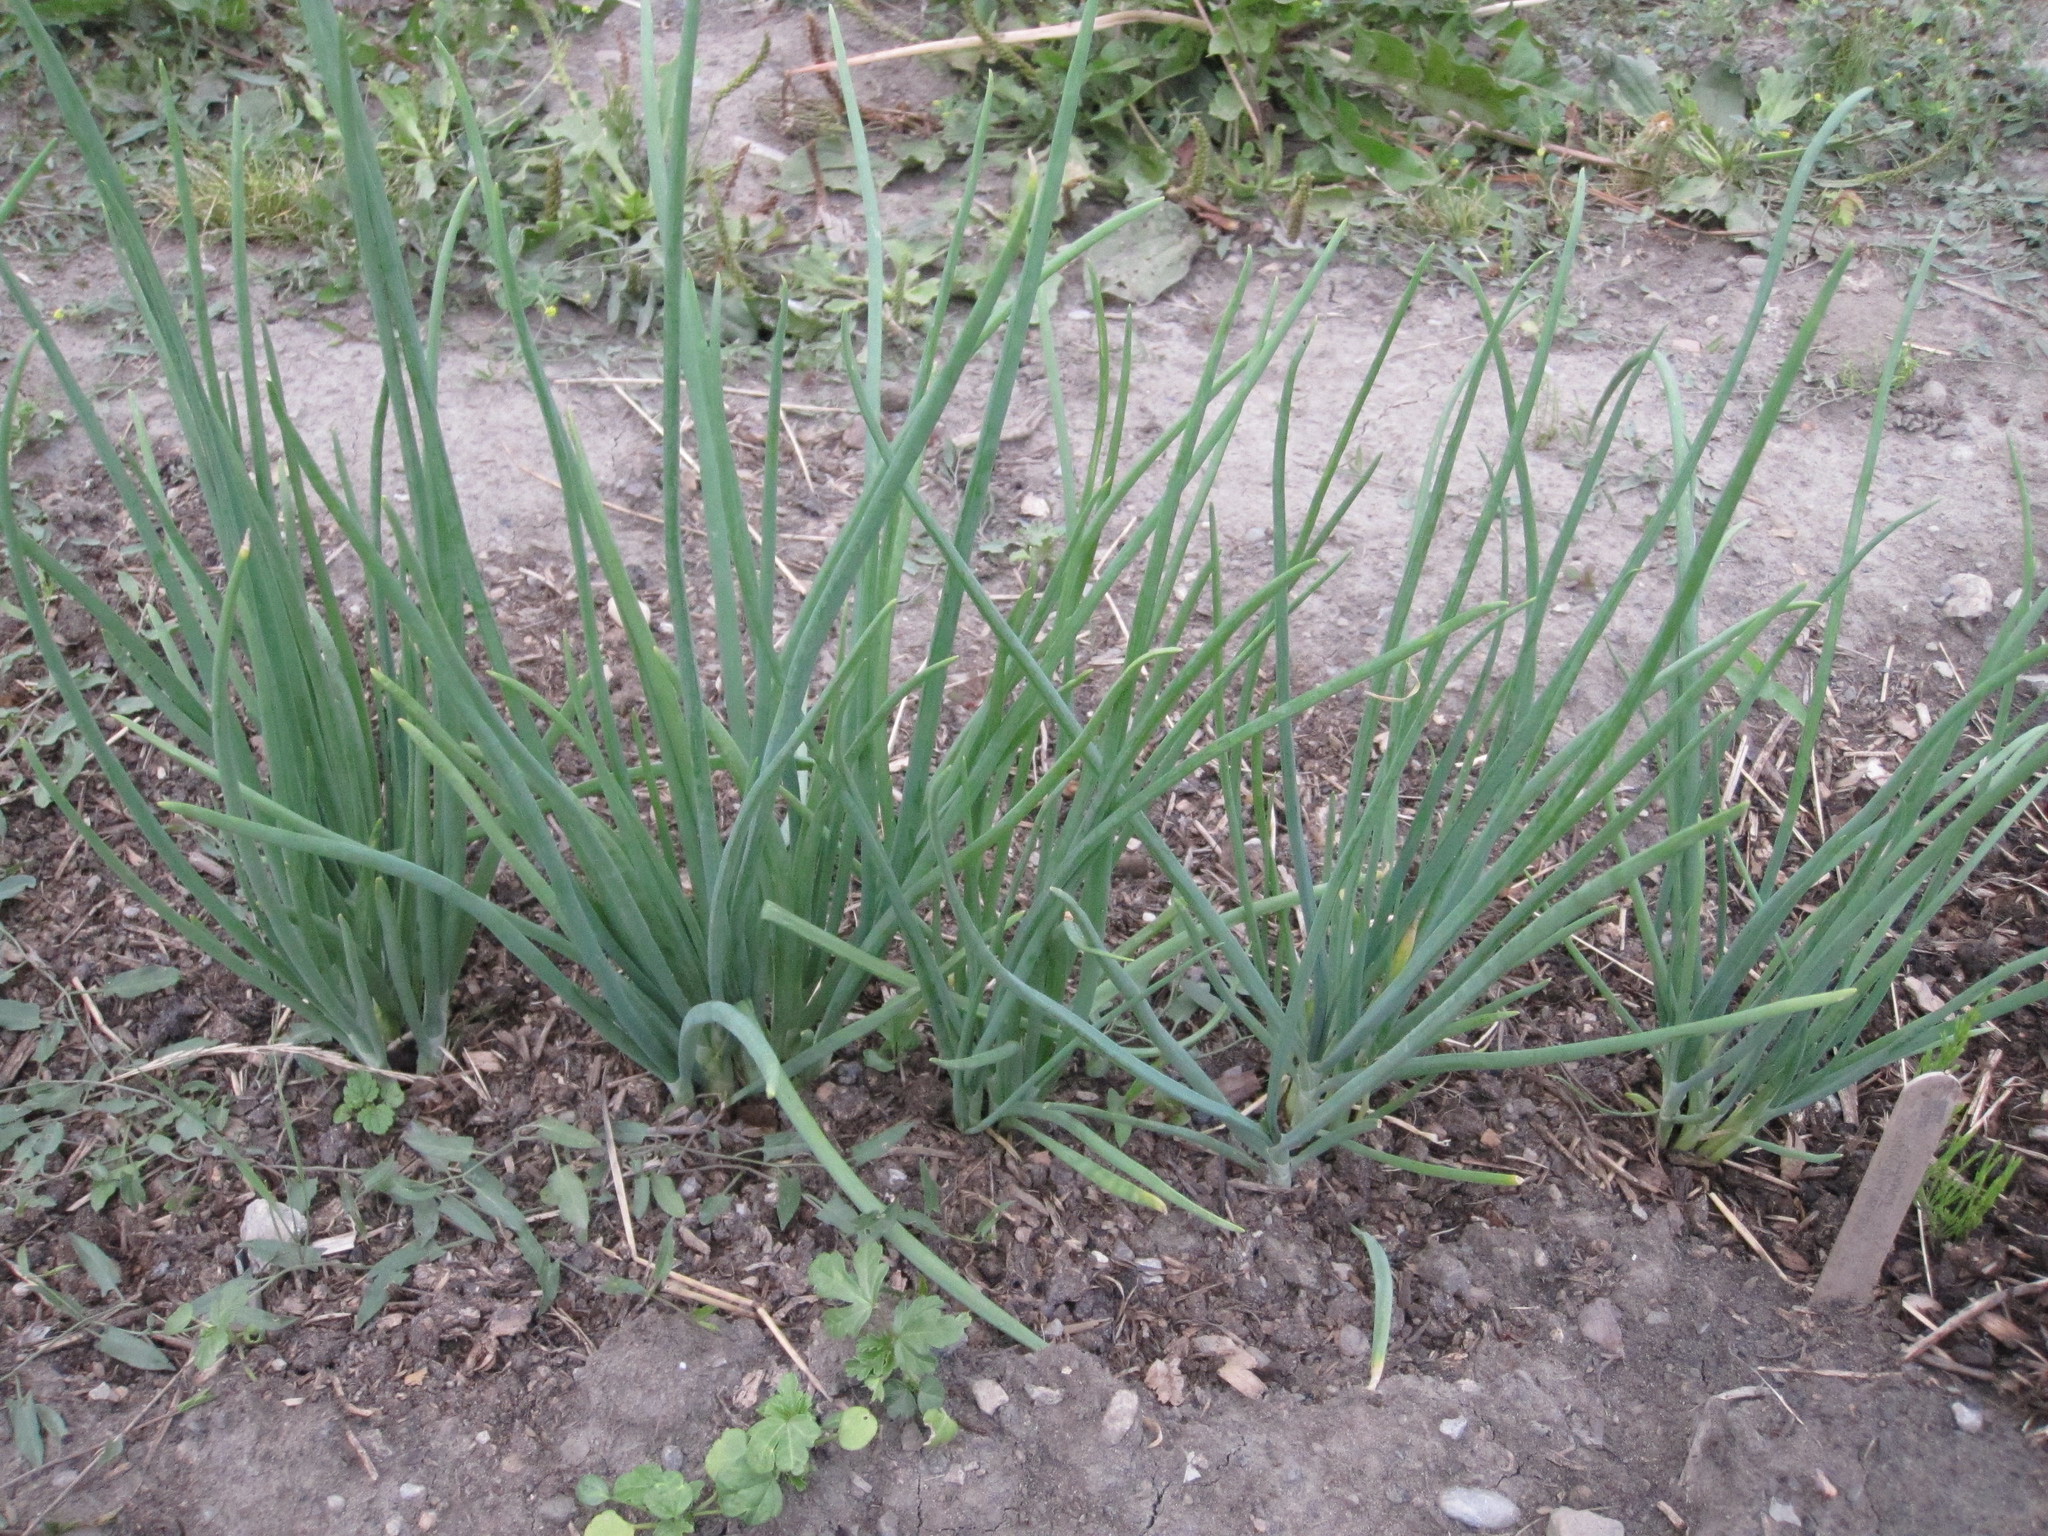
How to Plant Shallots
Fall Planting: In Virginia and further south, plant shallots with ½–1 inch of soil above the bulbs. Adding a 2-to 3-inch layer of mulch controls weeds and protects against temperature extremes.
We recommend deeper planting in mountainous areas and northern latitudes. Plant bulbs in rows with soil hilled 2 to 5 inches deep. In spring, scrape away some of the soil; otherwise the bulbs will elongate and may not store well. Scrape the soil carefully to avoid exposing the shallow roots. Use 4 to 8 inches of straw mulch in extreme northern areas, but remove it promptly with the arrival of the first spring thaws.
Well-mulched plantings can be shallower than the recommended depths, provided that the mulch is deep and a snow cover develops.
Spring Planting: Plant shallots shallow with about 1/3 of the bulb above the soil. Plant small bulbs (less than 1 inch diameter) so that the soil barely covers the bulb.
Watering and Weeding
Maintenance is critical if you want a large harvest. Alliums, including shallots, don’t tolerate weed pressure well at all. Letting your garden get weedy can significantly reduce yields, so we recommend keeping them well-mulched during the growing season.
The same goes for watering. You need to keep the soil consistently moist for good production. If the soil dries out just once, growth will be arrested, resulting in smaller bulbs and reduced yields. Heavy mulch between rows and plants will conserve moisture and control weeds. Keep well weeded: alliums and weeds don’t mix!
In the last two weeks before harvest, discontinue watering and pull back the mulch to allow the bulbs to dry. This will prevent rotting and allow the skins to harden.
Pest and Disease Issues
Rotate your shallots to new beds when possible to reduce pest and disease problems. Like other alliums, shallots are susceptible to disease issues like Fusarium basal rot, white rot, and Botrytis neck rot and pests like onion thrips. Rotating your crops and planting in well-drained soil can help prevent these issues.
Harvest
Harvest dates vary. In Virginia, we harvest shallots from late May through June, but harvest dates vary from year to year according to the weather, and also depend on if you planted in the fall or spring.
The shallot leaves will wilt when they’re ready to harvest. Use a fork to gently lift the bulbs from the soil. If the soil is too hard and dry, lightly irrigate the night before harvesting. Handle the shallots gently at this stage. The bulbs have a high water content after harvest and are easy to bruise and susceptible to rot.
Curing
Spread them out in a single layer to cure somewhere warm and dry for 3 weeks to 2 months before storing. Curing allows the skins to dry and toughen and improves the shallot’s flavor. Especially in humid climates, using a fan to circulate the air is a good idea.
Once curing is complete and the skins feel dry and papery, gently brush off any dirt and trim the tops.
Storing Shallots
Shallots will keep for several months when stored properly. Ideal conditions are a temperature between either 32–40°F or 50–70°F with 60–70% humidity. They will sprout prematurely if kept between 40–50°F (the temperature of many refrigerators).
You can use an unheated room in your house, a root cellar, your garage, etc. Maintain good air circulation. Most varieties store reasonably well in a cool room if hung from the ceiling in mesh bags, or spread on shelves in a layer less than 4 inches deep. Inspect shallots once a month or more often. Remove bulbs which have sprouted or spoiled, or else the whole batch may spoil.