
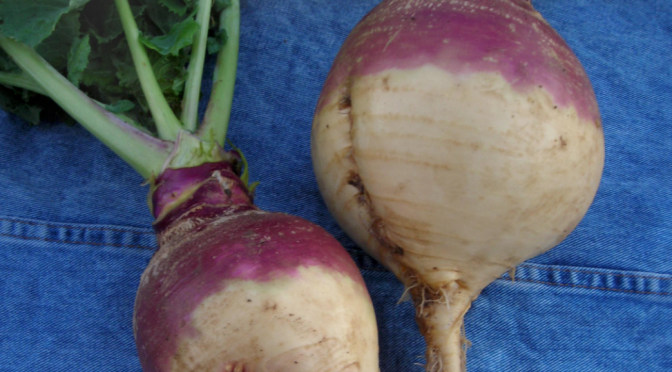
Few Americans eat or grow rutabagas these days. Sometimes called Swedes, these once cherished storage crops fell by the wayside as grocery stores and refrigerated shipping stepped onto the landscape. We find that these under-appreciated deserve a spot in our gardens and diet. Here’s why you may want to consider adding your rutabagas to your home garden this fall. Plus, some growing advice and how to put them to good use in the kitchen.
Why Grow Rutabagas
Rutabagas may not be beautiful vegetables to look at, but they do have a lot going for them! Here are a few of our favorite things about these root crops:
Rutabagas can increase your self-sufficiency.
If you garden just for flavor and fun, don’t worry about this one! However, we know that many of our customers are homesteaders, environmentalists, and foodies looking to produce more of their own food to keep their diet local. If that’s you, rutabagas are a great choice. Rutabagas are great nutrient-dense staple crops that offer a large amount of food for the space they take up in the garden.
Rutabagas have an excellent storage life.
Rutabagas are an ideal fall crop because, unlike many, they can stay in the ground long before they get pithy. Once harvested, you can store them in a fridge or root cellar for 4 to 5 months.
Rutabagas are incredibly versatile.
I encourage people to think of rutabagas as their own vegetable rather than a potato substitute. While they are excellent mashed, they don’t really taste like potatoes. I love them in soups, grated raw into salads, and even in cake!
Rutabagas are easy to grow.
Like any crop, rutabagas perform best under certain conditions, but we’ve found them to be pretty forgiving. They’re also much more cold-tolerant than many garden vegetables, allowing you to enjoy a longer season.
How to Grow Rutabagas
Rutabagas are pretty easy crops to grow, but there are a few things to consider when planting, caring for, harvesting, and storing your crop.
Planting
If you have ever grown turnips, you probably know how to grow rutabagas; they grow very similarly. In the Southeast, we recommend planting rutabagas as a fall crop.
Sow your rutabagas about 8 to 10 weeks before your first estimated frost to give them a good start before cold weather sets in. Don’t sow too early. Sustained temperatures over 80°F may cause them to bolt.
Rutabagas prefer full sun but will tolerate partial shade. Ideally, they should get at least 6 hours of sunlight per day. Direct sow your rutabagas into a bed with loose, well-drained soil. If you have heavy clay, add some compost and broad fork the bed to loosen the soil.
Sow seeds about 1/2 inch deep, 1 inch apart in rows 12 to 16 inches apart.
Care
Thinning is essential to rutabaga care! Rutabagas must be thinned within their first month of growth, or they won’t bulb properly. Nobody enjoys thinning, but if you don’t do it, it could ruin your harvest. Thin rutabagas to 8 inches apart.
Some folks have pest issues with rutabagas in the first few weeks. In this case, we usually recommend a floating row cover. It’s a great way to exclude pests without using pesticides.
Consistent watering is also essential for rutabagas. For the best harvests, you never want the soil to dry out. The old rutabaga adage is “If in doubt, water.”
You also want to keep the weeds at bay and mulch around your rutabagas as soon as possible. The mulch will help suppress weeds and keep the soil cool.
Harvest
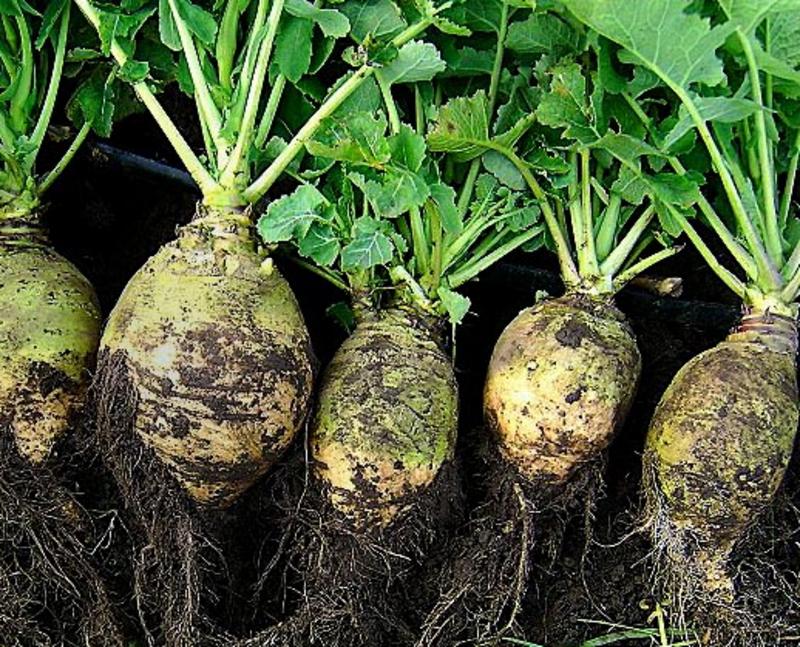
Rutabaga greens are delicious, much like turnip greens. You can harvest them whenever they are reasonably sized. To encourage continued growth, avoid taking all the leaves from one plant.
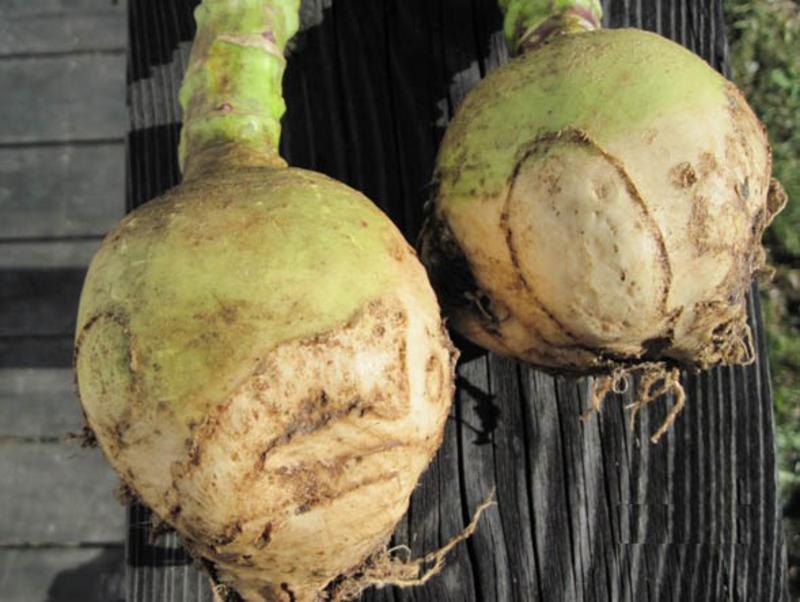
Rutabagas can become massive, but we recommend harvesting the bulbs when they are 3 to 6 inches in diameter for the best flavor. You can keep them in the ground for a long time in late fall and winter, as their growth slows in the short days and cool weather. However, you should harvest them before temperatures drop below 20°F.
Storage
After harvest, you can store your rutabagas in a fridge or root cellar for up to 5 months.
First, cut the tops to about 1 inch above the bulb and wash off any loose soil. Allow the rutabagas to dry. If you’re putting them in the fridge, you can pack them into bags.
To store them in a root cellar or similar area like a garage or basement, pack them in containers of moist sand or sawdust so they aren’t touching. It’s not possible for everyone, but ideal storage conditions for rutabagas are between 90 and 95% humidity and cold but above freezing.
Using Rutabagas
- Experiment with rutabaga greens this fall in place of turnip or collard greens.
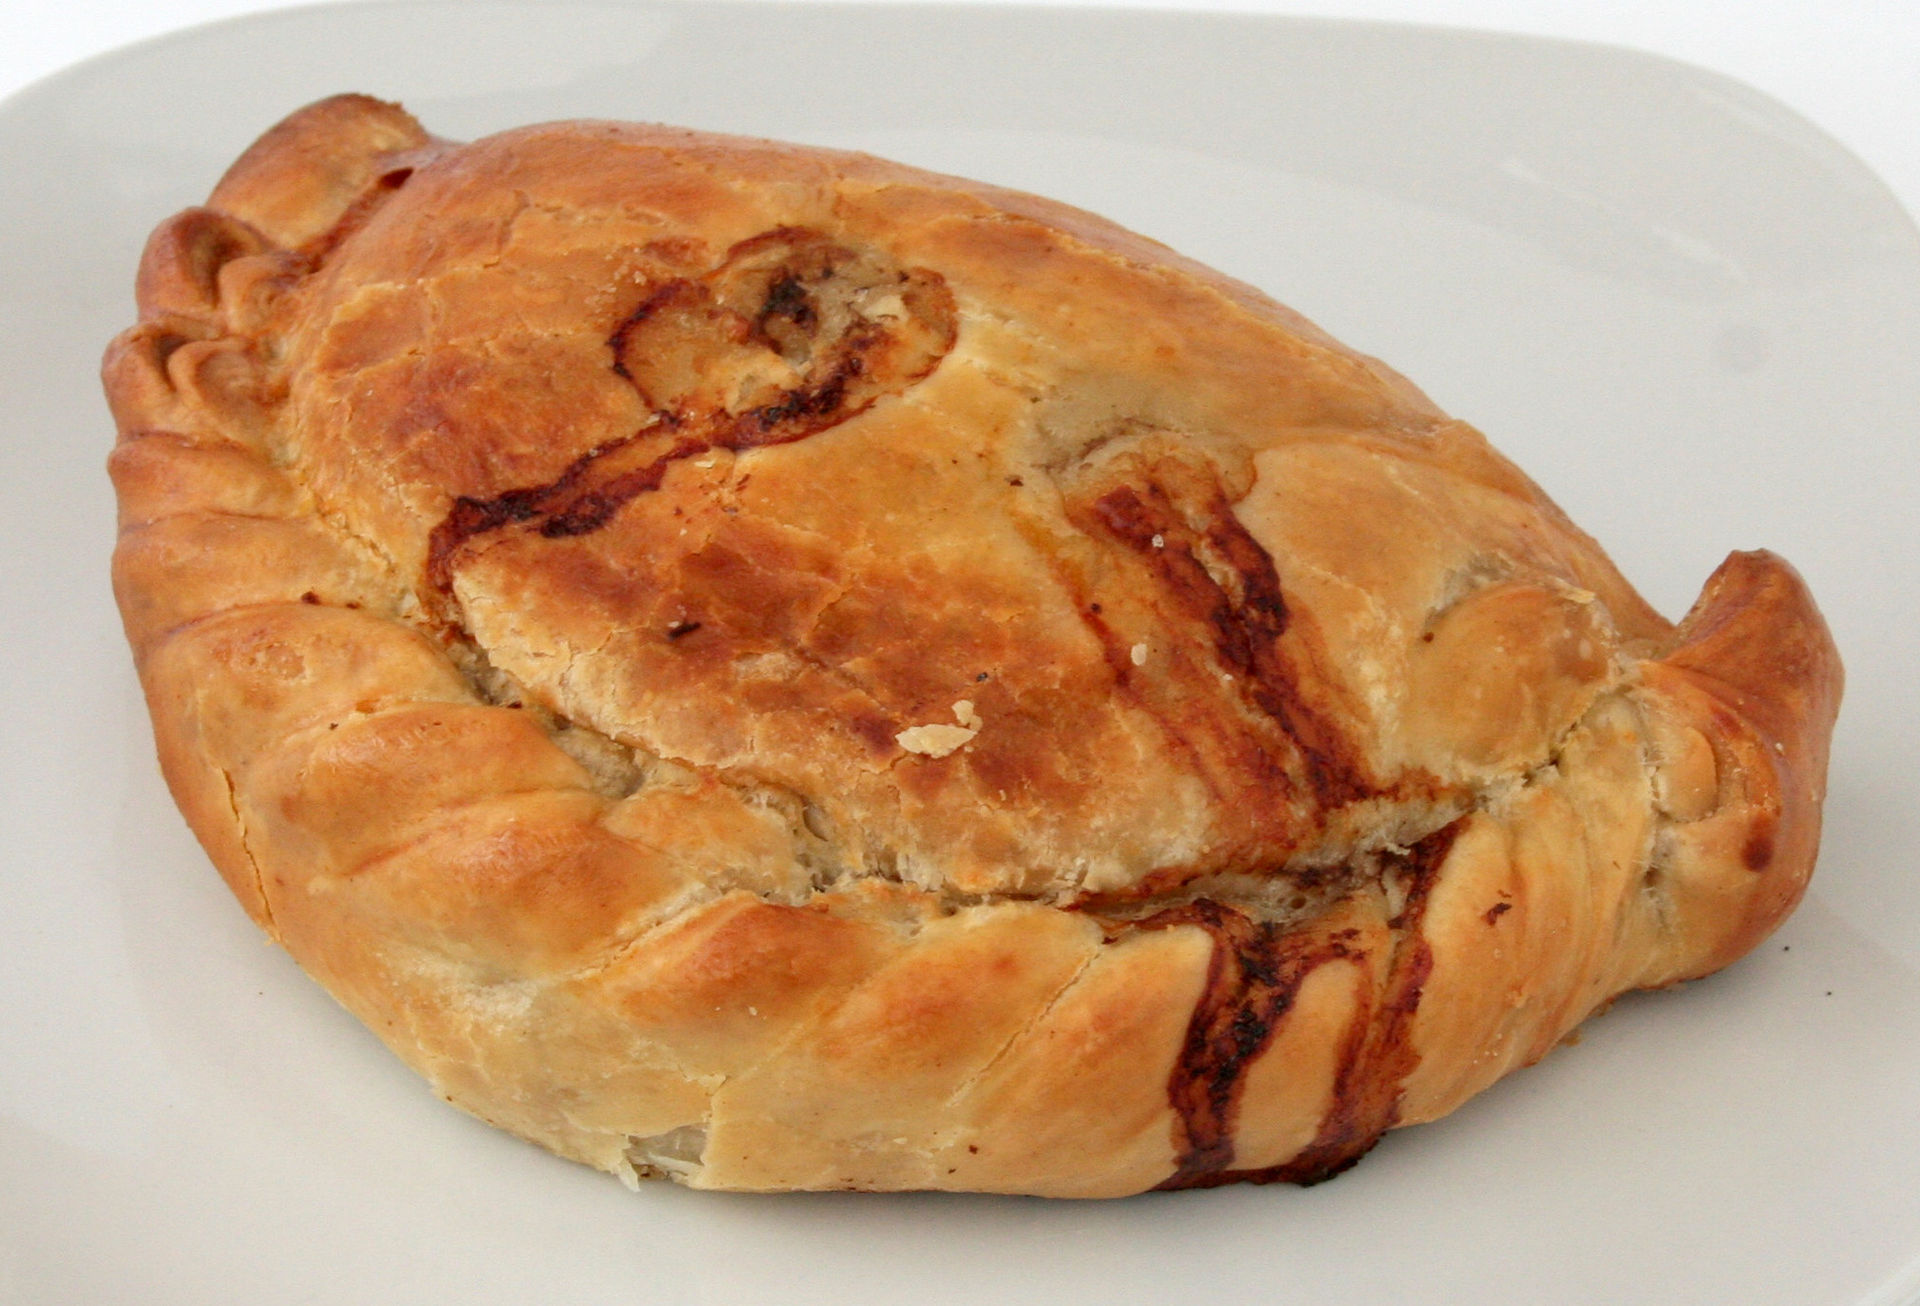
- Make Cornish pasties, a traditional British pastry, often filled with rutabaga.
- Make a traditional jack o’lantern. Rutabagas were carved on Halloween long before pumpkins!
- Bake a rutabaga spice cake with a warm, nutty flavor that’s perfect for fall!
- Try rutabaga noodles with a veggie spiralizer.
- Lastly, for the homesteaders and small farmers, rutabagas have traditionally been used as livestock fodder. They can be a helpful crop in years with poor hay harvests.